How to Take an MRSA Swab at Home: A Step-by-Step Guide (2026)
With MRSA cases in England rising by 16.9% in the 2024/25 period, hospitals are more vigilant than ever about pre-surgery screenings. If you have been asked to provide a sample before your admission, the pressure to get it right can feel overwhelming. You likely worry about accidental contamination or whether you are swabbing the correct areas. It is a common concern; nobody wants their vital surgery delayed because of an invalid laboratory result.
The good news is that you don’t need to be a medical professional to collect a high-quality sample. This guide explains exactly how to take mrsa swab at home with clinical accuracy. By following a few simple, structured steps, you can ensure your samples are ready for the lab and your surgery remains on schedule. We will cover the specific techniques for the nose, groin, and axilla, providing the clear instructions you need for total peace of mind. From maintaining sterility to using our prepaid return shipping, you’ll find everything required to complete your screening discreetly and efficiently.
Key Takeaways
- Understand why precise screening is vital for hospital admission and how to ensure your results meet clinical standards for accuracy.
- Learn how to maintain a sterile environment and follow the “No-Touch” rule to protect your samples from accidental contamination.
- Follow our professional sequence on how to take mrsa swab at home for the nose, groin, and axilla to guarantee a valid lab result.
- Master the handling techniques required to secure your samples and avoid common errors that lead to invalid test outcomes.
- Discover how to access rapid results within 24 hours of lab receipt, providing the peace of mind you need before your procedure.
Understanding the MRSA Swab Test: Why Accuracy Matters
MRSA screening is a clinical process used to identify the presence of Methicillin-resistant Staphylococcus aureus on your body. Unlike standard staph bacteria, MRSA is resistant to several common antibiotics. This resistance makes it significantly harder to treat if it enters a surgical wound. Hospitals mandate pre-operative screening as a standard safety protocol. It’s a preventative measure designed to protect you from post-surgical infections that could delay your recovery or lead to serious complications.
Understanding the difference between being colonized and being infected is vital. Colonization means you carry the bacteria on your skin or in your nose without feeling ill. You have no symptoms, but the bacteria are present and could potentially spread. An infection only occurs if those bacteria enter the body, typically through an incision during surgery. By learning how to take mrsa swab at home correctly, you provide the laboratory with the high-quality samples needed to detect these bacteria before your procedure begins.
The Difference Between PCR and Culture Swabs
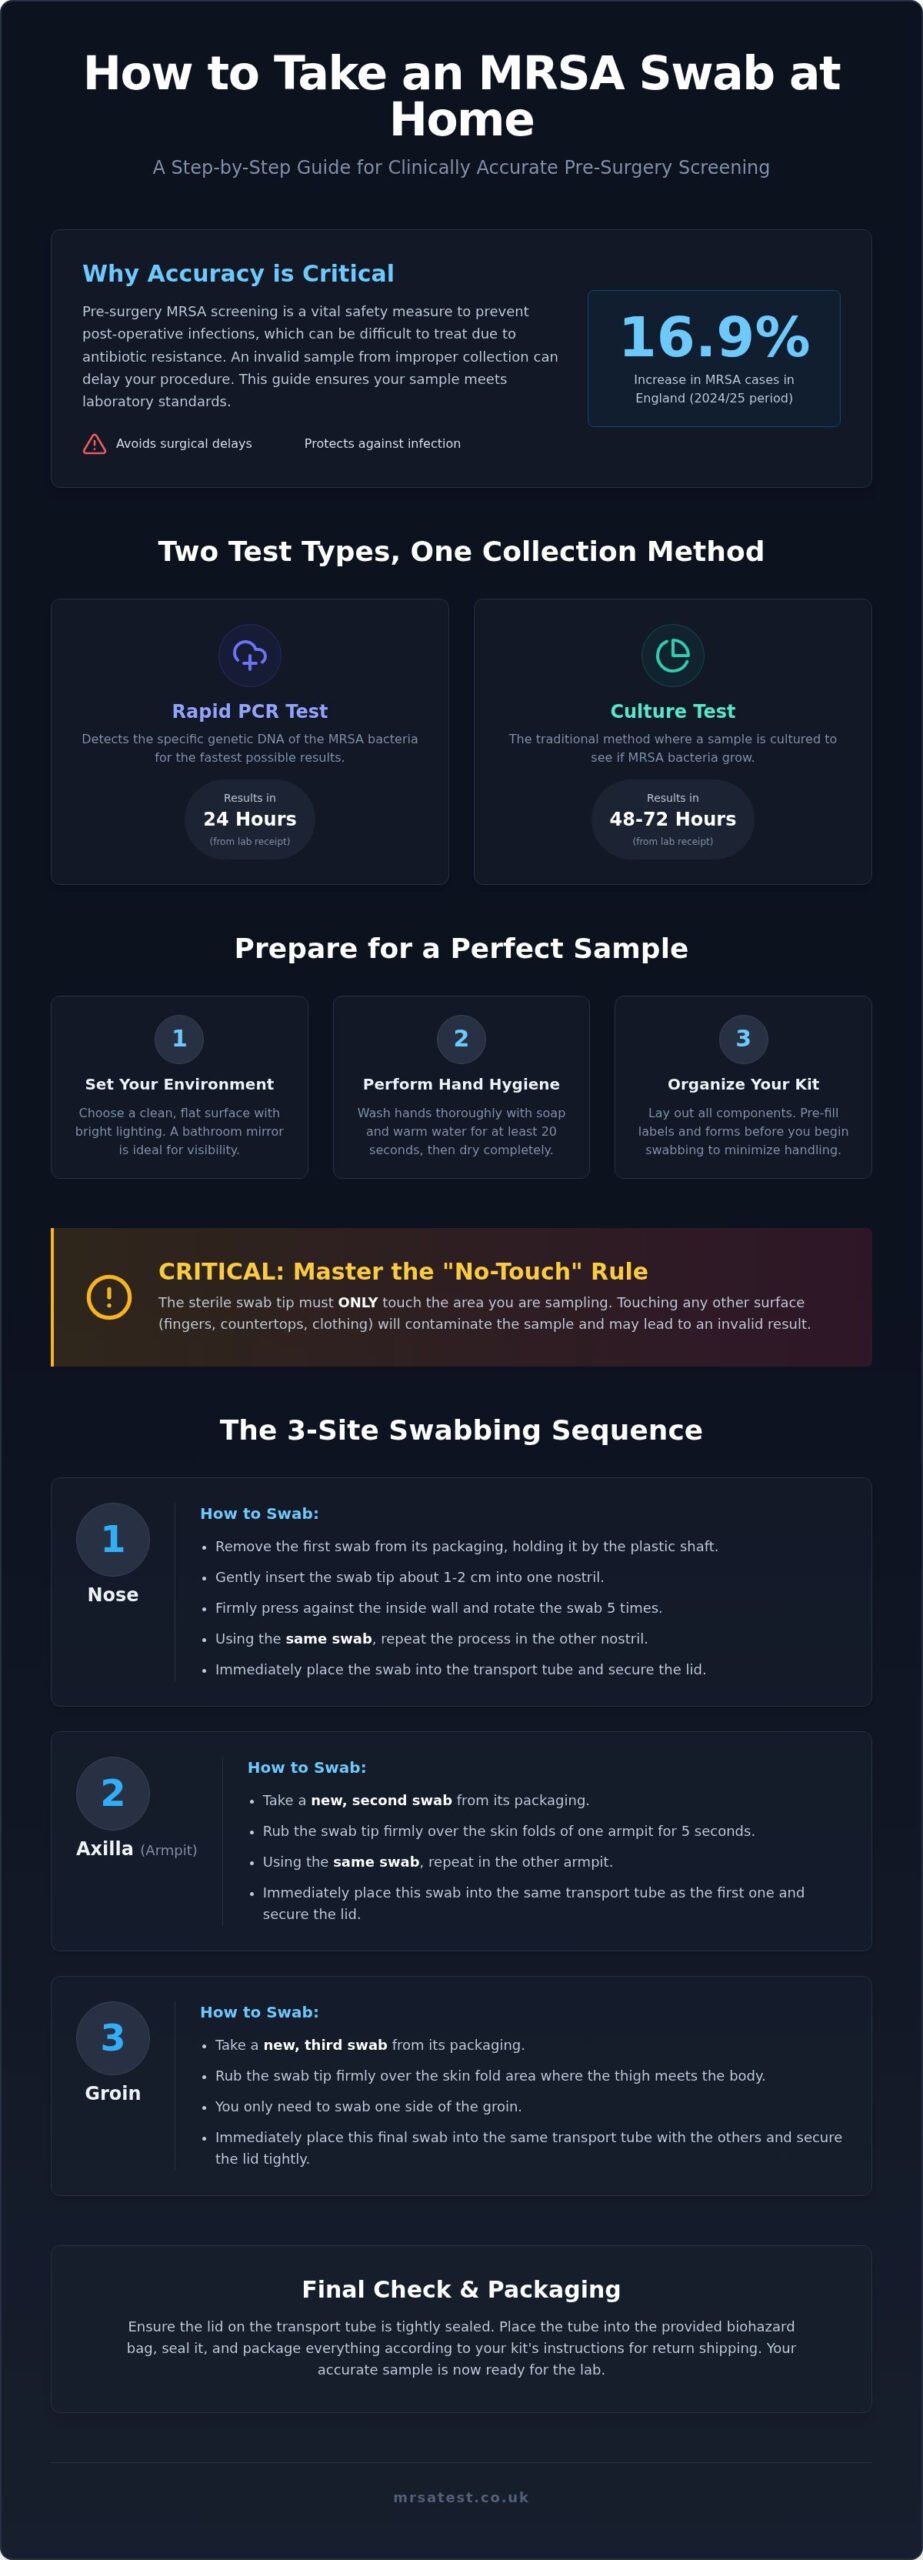
When you order a screening kit, you’ll usually choose between a Culture test and a Rapid PCR test. A Culture test involves placing your sample in a controlled environment to see if bacteria grow over 48 to 72 hours. In contrast, a Rapid PCR (Polymerase Chain Reaction) test looks for the specific genetic DNA of the bacteria. This modern method is much faster, providing results within 24 hours of the lab receiving your kit. While the laboratory technology varies, your physical technique for how to take mrsa swab at home remains identical for both types of tests.
Common Body Sites for MRSA Colonization
MRSA thrives in warm, moist environments on the human body. Clinical research identifies three primary reservoirs where these bacteria are most likely to live. Focusing on these specific areas ensures the highest level of diagnostic accuracy.
- Nose: The nostrils are the most common site for MRSA colonization.
- Axilla: The skin folds of the armpit provide the ideal temperature and moisture for bacterial survival.
- Groin: This high-moisture area is a frequent site for colonization and requires careful sampling.
A comprehensive three-site screen, including the nose, groin, and axilla, provides the highest diagnostic confidence. Identifying colonization across all these areas allows for a complete decolonization protocol if necessary. This ensures you’re clear of the bacteria before entering the operating theatre, giving you and your surgical team peace of mind. Following a professional swabbing sequence is the best way to guarantee your samples are lab-ready and valid.
Preparation and Hygiene: Setting Up Your Home Lab
Success starts with your environment. While you’re at home, you must treat your workspace with the same respect as a clinical setting. A bathroom mirror is your most valuable tool for accuracy; it allows you to see exactly where you’re swabbing. Knowing how to take mrsa swab at home effectively begins with this preparation. Clear a flat surface before you begin to serve as your base for the kit components.
The most critical concept to master is the “No-Touch” Rule. In a professional laboratory, this is known as maintaining a sterile field. Essentially, the sterile field is the imaginary safe zone where the swab tip remains untouched by anything except your target collection site. If the swab bud touches a countertop, your fingers, or even the outside of the transport tube, the sample is contaminated. This can lead to false results or a rejected sample, potentially delaying your surgery.
Hand Hygiene and Environment
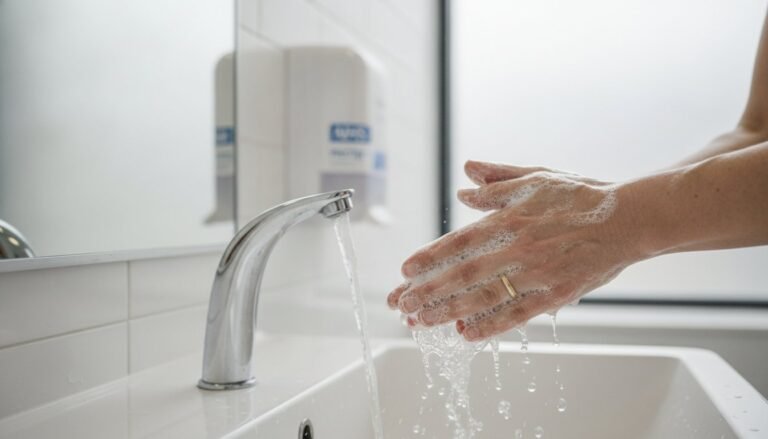
Proper hand hygiene is non-negotiable. Wash your hands with warm water and soap for at least 20 seconds, ensuring you scrub between fingers and under nails. Once dried with a clean towel, avoid touching non-sterile surfaces like door handles or mobile phones. Ensure the room has bright, clear lighting. If you can’t see the area clearly, you risk an inadequate sample. Detailed MRSA Tests information highlights that the quality of the specimen directly impacts the reliability of the diagnostic outcome.
Organising Your MRSA Test Kit
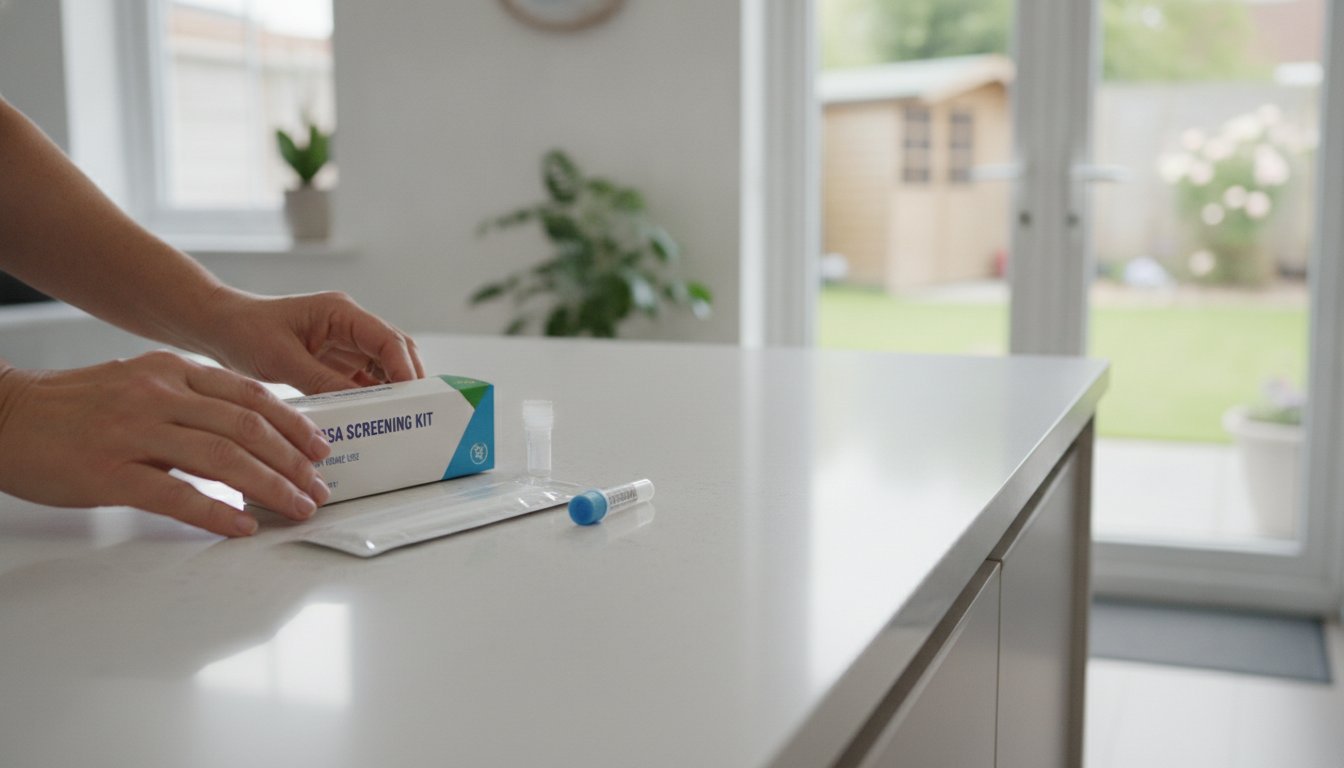
Open your kit and lay out the contents. You should find swabs, transport tubes, and a lab request form. It’s best to pre-fill any labels or forms before you start the physical swabbing. Trying to write on a small tube while holding a sterile swab is difficult and increases contamination risks. Ensure all transport tubes are uncapped or ready to receive the swab immediately after collection.
Timing is also a factor. Aim to collect your sample just before you intend to post it. Samples are most stable when they reach the lab quickly. Using our UK-based at-home MRSA test kits ensures you have the correct materials and prepaid return shipping to streamline this process. By organising your kit and environment first, you make the actual process of how to take mrsa swab at home much simpler and more reliable.
Step-by-Step Swabbing Guide for Nose, Groin, and Axilla
The order in which you collect your samples is clinically significant. To maintain the highest standards of hygiene, you should always start with the cleanest site and move downwards. This prevents the transfer of bacteria from one body area to another during the process. When learning how to take mrsa swab at home, mastering the correct pressure is also essential. You need to apply enough pressure to collect skin cells and bacteria, but it should never be painful or cause bleeding. By being methodical, you’ll produce a sample that the lab can process without delay.
Nasal Swab Technique
Start with the nasal collection. Carefully remove the swab from its sterile packaging, being careful not to touch the tip. Insert the bud approximately 1cm to 2cm into your first nostril. Gently but firmly rotate it against the inside wall for five seconds. Using the same swab, repeat this exact process in your second nostril. This bilateral technique ensures a representative sample from both sides of the nose. Once finished, place the swab directly into the transport tube and ensure the cap is clicked shut to prevent the sample from drying out.
Groin and Axilla (Armpit) Collection
For the groin and axilla, your skin must be clean, dry, and free from any topical products. Don’t apply deodorants, powders, or lotions before testing as these can interfere with the lab’s ability to grow or detect bacteria. In the groin area, rub the swab back and forth along the crease where the leg meets the torso. For the axilla, ensure the swab makes firm contact with the deepest part of your armpit. You should use one swab for both armpits and a separate swab for both sides of the groin, following the same bilateral method used for the nose.
The “Triple Site” vs “Double Site” Screen
Clinicians often debate the necessity of different testing sites. While some basic kits only focus on two areas, many hospitals require a more extensive MRSA screening test. The most robust approach is the MRSA Culture – Nose/Groin/Axilla, which is considered the comprehensive standard for pre-surgery screening. Always check the specific instructions included with your individual kit. If your kit provides three swabs, ensure you use one for the nose, one for both armpits, and one for both sides of the groin. Knowing how to take mrsa swab at home means following these site-specific rules to ensure your surgery proceeds as planned.
Handling and Troubleshooting: Avoiding Common Mistakes
Even with a clear understanding of how to take mrsa swab at home, small logistical errors can occasionally occur. These mistakes are often the primary reason laboratories reject samples, which can cause unnecessary anxiety or even surgery cancellations. Ensuring your sample is valid requires careful attention to detail during the final handling and packing phase.
Troubleshooting Collection Errors
If you accidentally touch the swab tip to your clothing, a countertop, or drop it on the floor, the sterile integrity is lost. In these instances, you must not proceed with that swab. Using a contaminated sample will lead to a false result or an invalid test. It’s better to request a replacement kit than to risk an inaccurate screening result before your hospital admission.
You might wonder if you’ve collected enough material. The swab bud should look slightly “used” or damp after firm contact with the skin. However, remember that “more is not better” in clinical diagnostics. Unless your specific kit instructions explicitly state to moisten the tip, do not soak the swab in water. Most professional kits are designed to pick up sufficient cellular material through firm, dry contact alone.
Packing and Posting Your Sample
Once the collection is complete, you may need to use the “Snap” technique. Some swab handles are designed with a break-point to fit into the transport tube. Hold the tube firmly and snap the handle against the rim at the marked line. It’s vital to ensure the cap is “clicked” shut tightly. A loose cap can lead to sample leakage or desiccation, which is the clinical term for the sample drying out. If the transport medium evaporates, the lab cannot accurately detect the bacteria.
Labeling is your final hurdle. The laboratory will reject any sample that is missing key identifiers, such as your full name and date of birth. Verify these details on both the tube and the request form before sealing the package. Place the tubes inside the provided biohazard bag and the request form in the separate external pocket to protect it from moisture damage. Finally, use the prepaid Royal Mail tracked envelope for immediate dispatch. Posting your sample on the same day you collect it ensures the highest level of specimen viability.
Mastering the logistics of how to take mrsa swab at home ensures your results are lab-ready. To secure a kit that includes all these protective packaging elements, you can order a professional MRSA Rapid PCR Test– Nose/Groin/Axilla today.
Why Choose Private MRSA Screening with mrsatest.co.uk?
Choosing a private screening service provides a professional, streamlined alternative to traditional hospital-led pathways. While the NHS provides essential screening, the timing often depends on hospital capacity and pre-assessment schedules. Our service gives you control over your timeline. We offer a range of options, from standard culture tests to advanced PCR screening, all processed by accredited UK laboratories. These are the same high-standard facilities used by healthcare professionals across the country, ensuring your results are both accurate and reliable.
Privacy and discretion are at the core of our service. You can complete the entire process from the comfort of your home, avoiding extra hospital visits and the associated travel or waiting times. By following our guide on how to take mrsa swab at home, you ensure that the samples reaching our lab are of the highest clinical quality. Once your kit arrives via our prepaid return shipping, our team works efficiently to provide the answers you need.
Peace of Mind Before Surgery
The primary benefit of early, private screening is the prevention of last-minute surgical cancellations. Hospitals have a zero-tolerance policy for MRSA bacteraemia, and an unexpected positive result on the day of surgery can lead to significant delays. Having your results ready before your formal pre-assessment appointment allows you to walk into the hospital with confidence. It’s a vital part of your preparation, fitting seamlessly into a broader Preparing for Surgery: A Complete Pre-Op Health & Logistics Checklist. When you know how to take mrsa swab at home and secure a “Not Detected” result early, you remove a major source of pre-operative anxiety.
Next Steps After Your Results
If your laboratory report returns as “Detected,” it means MRSA colonization has been identified. It’s important to remember that colonization is not an active infection; it simply means the bacteria are present on your skin. In this scenario, the standard procedure is a five-day decolonisation protocol. Your GP or surgical team will provide specific antiseptic body washes and nasal ointments to clear the bacteria before your procedure. For a deeper understanding of what a positive result means for your health, you can consult our guide on What Is MRSA? Your Complete Guide to Symptoms, Causes & Risks. This proactive approach ensures you’re in the best possible condition for a safe and successful surgery.
Secure Your Surgical Timeline with Professional Accuracy
You now have the clinical knowledge required to perform a high-quality screening in your own environment. By mastering the “No-Touch” rule and following the precise swabbing sequence for the nose, groin, and axilla, you have removed the uncertainty from the process. Understanding how to take mrsa swab at home is about more than just convenience; it’s about protecting your health and ensuring your hospital admission proceeds without any last-minute interruptions. Correct handling and meticulous labeling are the final steps in securing a valid laboratory result.
To begin your screening, you can Order Your Private MRSA Test Kit for Rapid Results. Our service is designed for efficiency and reliability, featuring processing by accredited UK laboratories and free tracked return shipping in every kit. With rapid 24-hour PCR options available, you can receive the answers you need well before your pre-assessment date. Take this proactive step today to ensure you’re fully prepared for a safe and successful procedure. We’re here to support you through every stage of your pre-operative journey with quiet competence and professional care.
Frequently Asked Questions
Do I need to be naked to take the MRSA groin swab?
You don’t need to be fully undressed to perform the collection. You only require clear access to the skin crease where your leg meets your torso. Most users find it easiest to lower their underwear slightly while standing or sitting in front of a mirror. This allows you to maintain your privacy while ensuring the swab makes firm, direct contact with the target site for a clinically accurate sample.
Can I take the MRSA swab if I am on my period?
Yes, you can perform the screening during your period. Menstruation doesn’t interfere with the detection of MRSA colonization on the skin or in the nostrils. The focus of the groin swab is the skin crease where the leg joins the body, not the internal vaginal area. As long as you follow the standard hygiene protocols and keep the sample free from external contaminants, your results will remain valid for your hospital screening.
How long do MRSA swab results take to come back?
The turnaround time depends on the specific testing method you choose. Our Rapid PCR tests typically provide results within 24 hours of the laboratory receiving your sample. Traditional Culture tests take longer, usually between 48 and 72 hours, as the lab must wait for bacterial growth to occur. All our kits include prepaid tracked shipping to ensure your specimens reach our accredited UK laboratories as quickly as possible for prompt analysis.
What happens if I accidentally touch the swab tip with my finger?
If you touch the swab bud with your finger, the sample is considered contaminated. Human skin naturally carries various bacteria that can interfere with the test results. Learning how to take mrsa swab at home involves strict adherence to the “No-Touch” rule to protect sterile integrity. If an accident occurs, don’t use the swab. You should contact us to arrange a replacement to ensure your pre-surgery screening remains accurate and reliable.
Do I need to moisten the swab with water before using it?
Most of our kits utilize a dry-swab system that doesn’t require moistening. You should use the swab exactly as provided in the sterile packaging. Adding tap water or bottled water can introduce external bacteria or chemicals that might compromise the laboratory’s findings. Always check the specific instructions included in your kit, but for the majority of our professional screenings, a firm, dry swab against the skin is the correct clinical technique for identifying colonization.
Can I brush my teeth or eat before taking a throat swab?
Our standard professional kits focus on the nose, groin, and axilla, as these are the primary areas for colonization. We don’t currently include a throat swab in our standard MRSA screenings. If you’re using a different kit that requires a throat sample, it’s best to avoid eating or brushing your teeth for 30 minutes before collection. This prevents contaminants from affecting the sample quality, though skin-based sites remain the clinical priority for our tests.
Is the MRSA test kit delivered in discreet packaging?
Yes, discretion is a priority for all our medical diagnostics. Your test kit arrives in plain, unmarked packaging that doesn’t reference MRSA or testing on the outside. We understand the importance of privacy when managing your health screenings from home. This professional approach ensures your personal medical information remains confidential from the moment the kit is dispatched until your secure results are delivered to you electronically through our encrypted system.
What should I do if my surgery is in less than 3 days?
If your surgery is less than three days away, you should prioritize our Rapid PCR testing option. This technology provides results within 24 hours of your sample reaching the laboratory. It’s also vital to post your kit immediately using the included tracked shipping to avoid any transit delays. Understanding how to take mrsa swab at home efficiently ensures your results are ready in time for your hospital pre-assessment or admission, providing peace of mind.