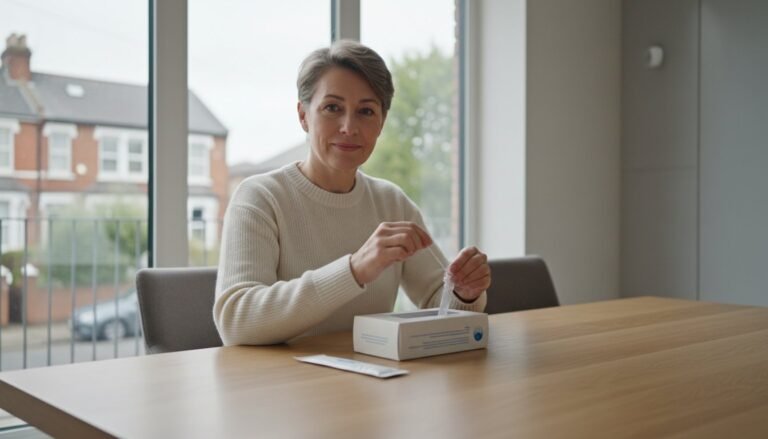
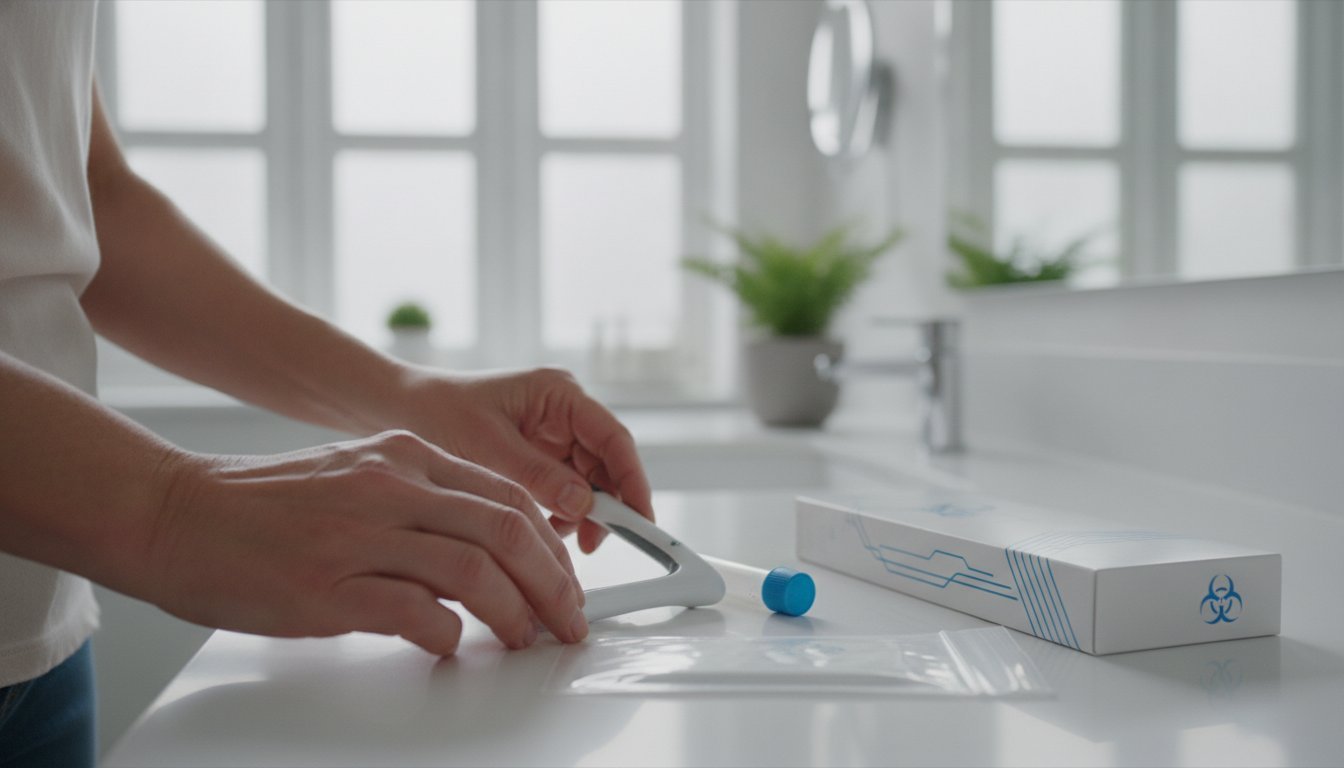
How to Take an MRSA Swab at Home: A Step-by-Step UK Guide (2026)
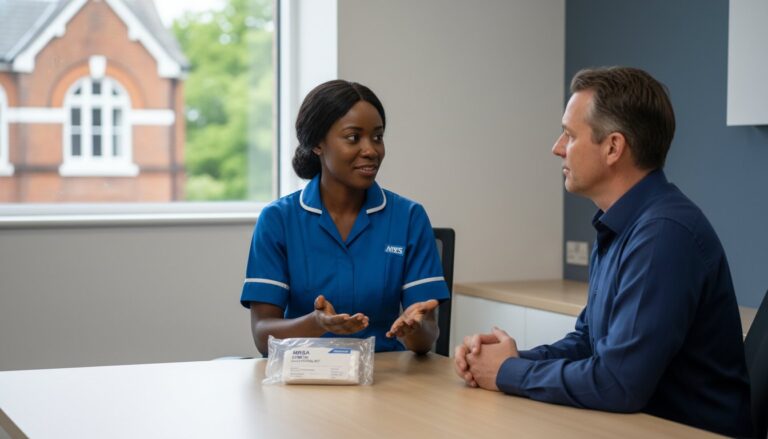
A single missed spot on your MRSA swab can be the difference between a successful surgery date and a frustrating last-minute cancellation. It’s completely natural to feel a sense of anxiety about performing a clinical procedure on yourself. You might worry about the discomfort of the process, or feel uncertain about exactly which areas need to be sampled to meet hospital standards. Learning how to take mrsa swab at home shouldn’t be a source of stress during an already busy pre-operative period.
We understand that accuracy is your primary concern. This guide simplifies the process by providing clear, fail-safe instructions based on the latest 2026 UK clinical guidelines. By following these steps, you can ensure your sample is collected correctly, avoiding the risk of contamination that often leads to invalid results. We will walk you through the precise swabbing sites, the correct contact time for each area, and how to securely package your kit for the laboratory. This professional approach ensures you receive the fast, reliable results required to keep your surgical schedule on track.
Key Takeaways
- Master exactly how to take mrsa swab at home using a clinical technique that ensures your sample is valid for hospital pre-operative requirements.
- Understand the vital importance of hand hygiene and correct site selection to prevent sample contamination and avoid surgery delays.
- Learn the “5-second rule” for swabbing to ensure you collect enough material from the nose, groin, and axilla for accurate laboratory analysis.
- Discover how to troubleshoot common issues like dry skin or nasal discharge to maintain the integrity of your diagnostic sample.
- Find out how to securely package and return your kit using tracked delivery for rapid, reliable results from an accredited laboratory.
What is an MRSA Swab Test and Why is it Necessary?
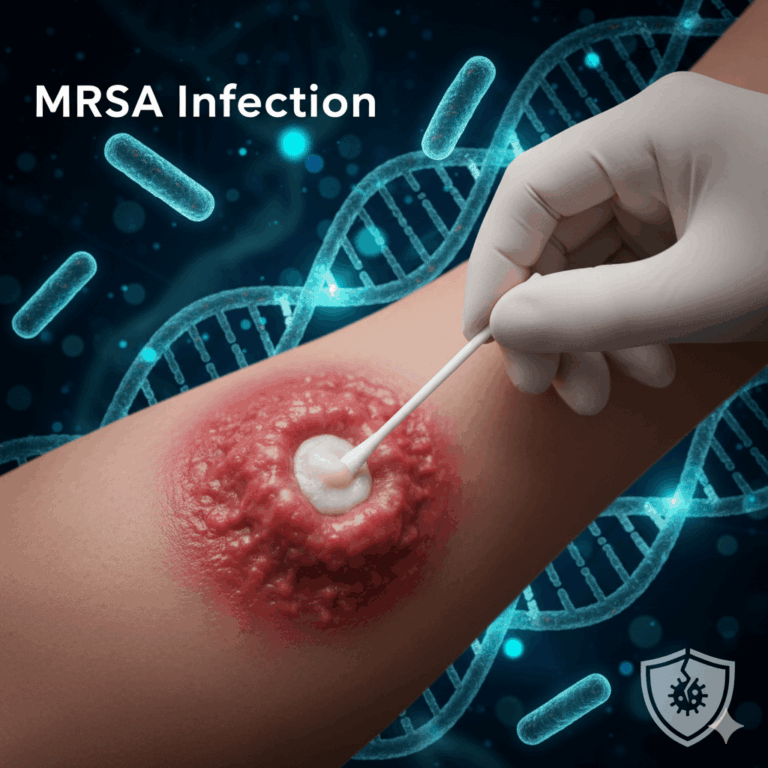
Methicillin-resistant Staphylococcus aureus (MRSA) is a type of bacteria that has developed resistance to several widely used antibiotics. While many people carry these bacteria on their skin without harm, they pose a significant risk in a hospital environment. If these bacteria enter the body through a surgical incision, they can cause serious infections that are difficult to treat. This is why learning how to take mrsa swab at home correctly is a vital step in your surgical preparation.
It’s important to distinguish between being “colonised” and having an active infection. MRSA colonisation is the presence of bacteria without symptoms, which is what the swab detects. Most people are unaware they carry MRSA until they are screened. In contrast, an infection occurs when the bacteria multiply and cause symptoms like redness, swelling, or fever. Screening identifies carriers so they can undergo a simple decolonisation protocol before their procedure begins.
The Role of Pre-Operative Screening
UK hospitals mandate screening to reduce the risk of surgical site infections (SSIs). In high-risk specialties like cardiac or orthopaedic surgery, where prosthetic material is often used, preventing infection is a top priority. Statistics show that for cardiac surgery, MRSA screening helps reduce the 2% to 5% risk of surgical site infections. Many patients choose to use a private service to avoid hospital queues or to ensure they meet tight surgical windows. For a full overview of your lead-up to the big day, you can view our Preparing for Surgery: A Complete Pre-Op Health & Logistics Checklist. This proactive approach supports the UK’s “Zero Tolerance” mandate for hospital-acquired infections.
PCR vs. Culture Swabs: Choosing Your Kit
Choosing the right kit depends on your timeline. Standard Culture tests work by attempting to grow the bacteria in a lab setting over 48 to 72 hours. While effective, this takes time. Rapid PCR tests use molecular detection to identify the DNA of the bacteria, providing results within 24 hours of the lab receiving your sample. This molecular method is often more sensitive and provides the speed needed for urgent pre-op windows. If your surgery is scheduled soon, a PCR kit is often the preferred choice. You can find more details on our MRSA Test: Get Fast, Accurate Results at Home page. Knowing how to take mrsa swab at home using either method ensures your results are accepted by your clinical team.
Preparation: Setting Up for a Successful Sample
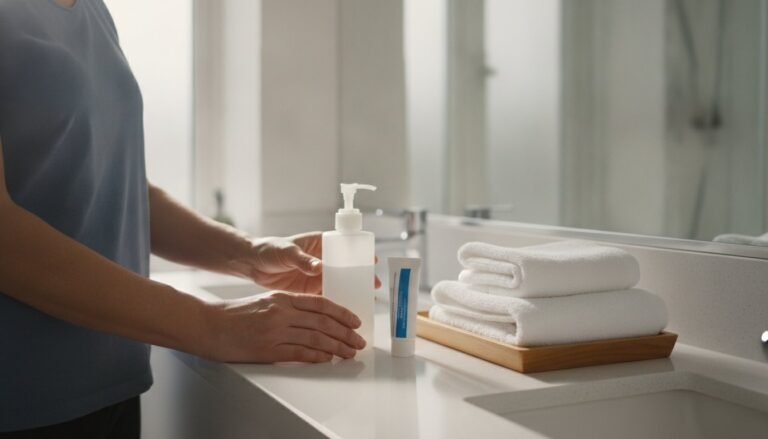
When you are learning how to take mrsa swab at home, the environment you choose is just as important as the technique itself. Accuracy starts with a controlled, clean space. Before you open your kit, clear a flat surface in a well-lit room. A bathroom is usually the best choice because it provides access to a mirror and hand-washing facilities. Remove any clutter from the area to create a dedicated “clean zone” for your medical components.
Hygiene is the most critical factor in preventing cross-contamination. Wash your hands thoroughly with soap and warm water for at least 20 seconds, ensuring you scrub between your fingers and under your nails. Dry your hands completely with a fresh towel or a paper towel. If your hands are damp or contaminated with other household bacteria, you risk transferring those organisms to the swab, which could lead to an inconclusive laboratory result.
Once your hands are clean, lay out the contents of your kit from mrsatest.co.uk. You should see sterile swabs, transport tubes containing a liquid or gel medium, identification labels, and return packaging. Check the expiry date on the transport tubes immediately. This medium is designed to keep any collected bacteria alive during transit to the lab; if it is expired, the sample may degrade before it can be analysed. Our kits are designed for total convenience, so the tubes already contain the necessary moistening medium. You won’t need to source “sterile water” or any additional medical supplies.
The “Mirror Method” for Self-Collection
Using a mirror is essential for a successful self-swab, especially for the groin and axilla (armpit) areas. These sites are often difficult to see clearly, and you need to ensure the swab makes firm contact with the skin creases where MRSA is most likely to colonise. Position yourself so the light falls directly on the area you are sampling. Whether you are standing or sitting, the mirror allows you to guide the swab precisely, ensuring you don’t accidentally touch your clothing or other non-target skin areas during the process.
Handling the Swab Correctly
Sterility is the foundation of a reliable test. When you are ready to begin, peel back the sterile packaging carefully. Hold the swab only by the plastic or wooden handle. It is vital that you never touch the cotton bud at the tip or the part of the stick that will be inserted into the transport tube. If the tip touches a countertop, your clothing, or your fingers, it is no longer sterile. If you accidentally drop a swab, discard it and use a spare. Maintaining a sterile technique ensures that the only DNA the laboratory detects is from the specific sites required for your surgical clearance.
Step-by-Step Instructions for Taking Your MRSA Swabs
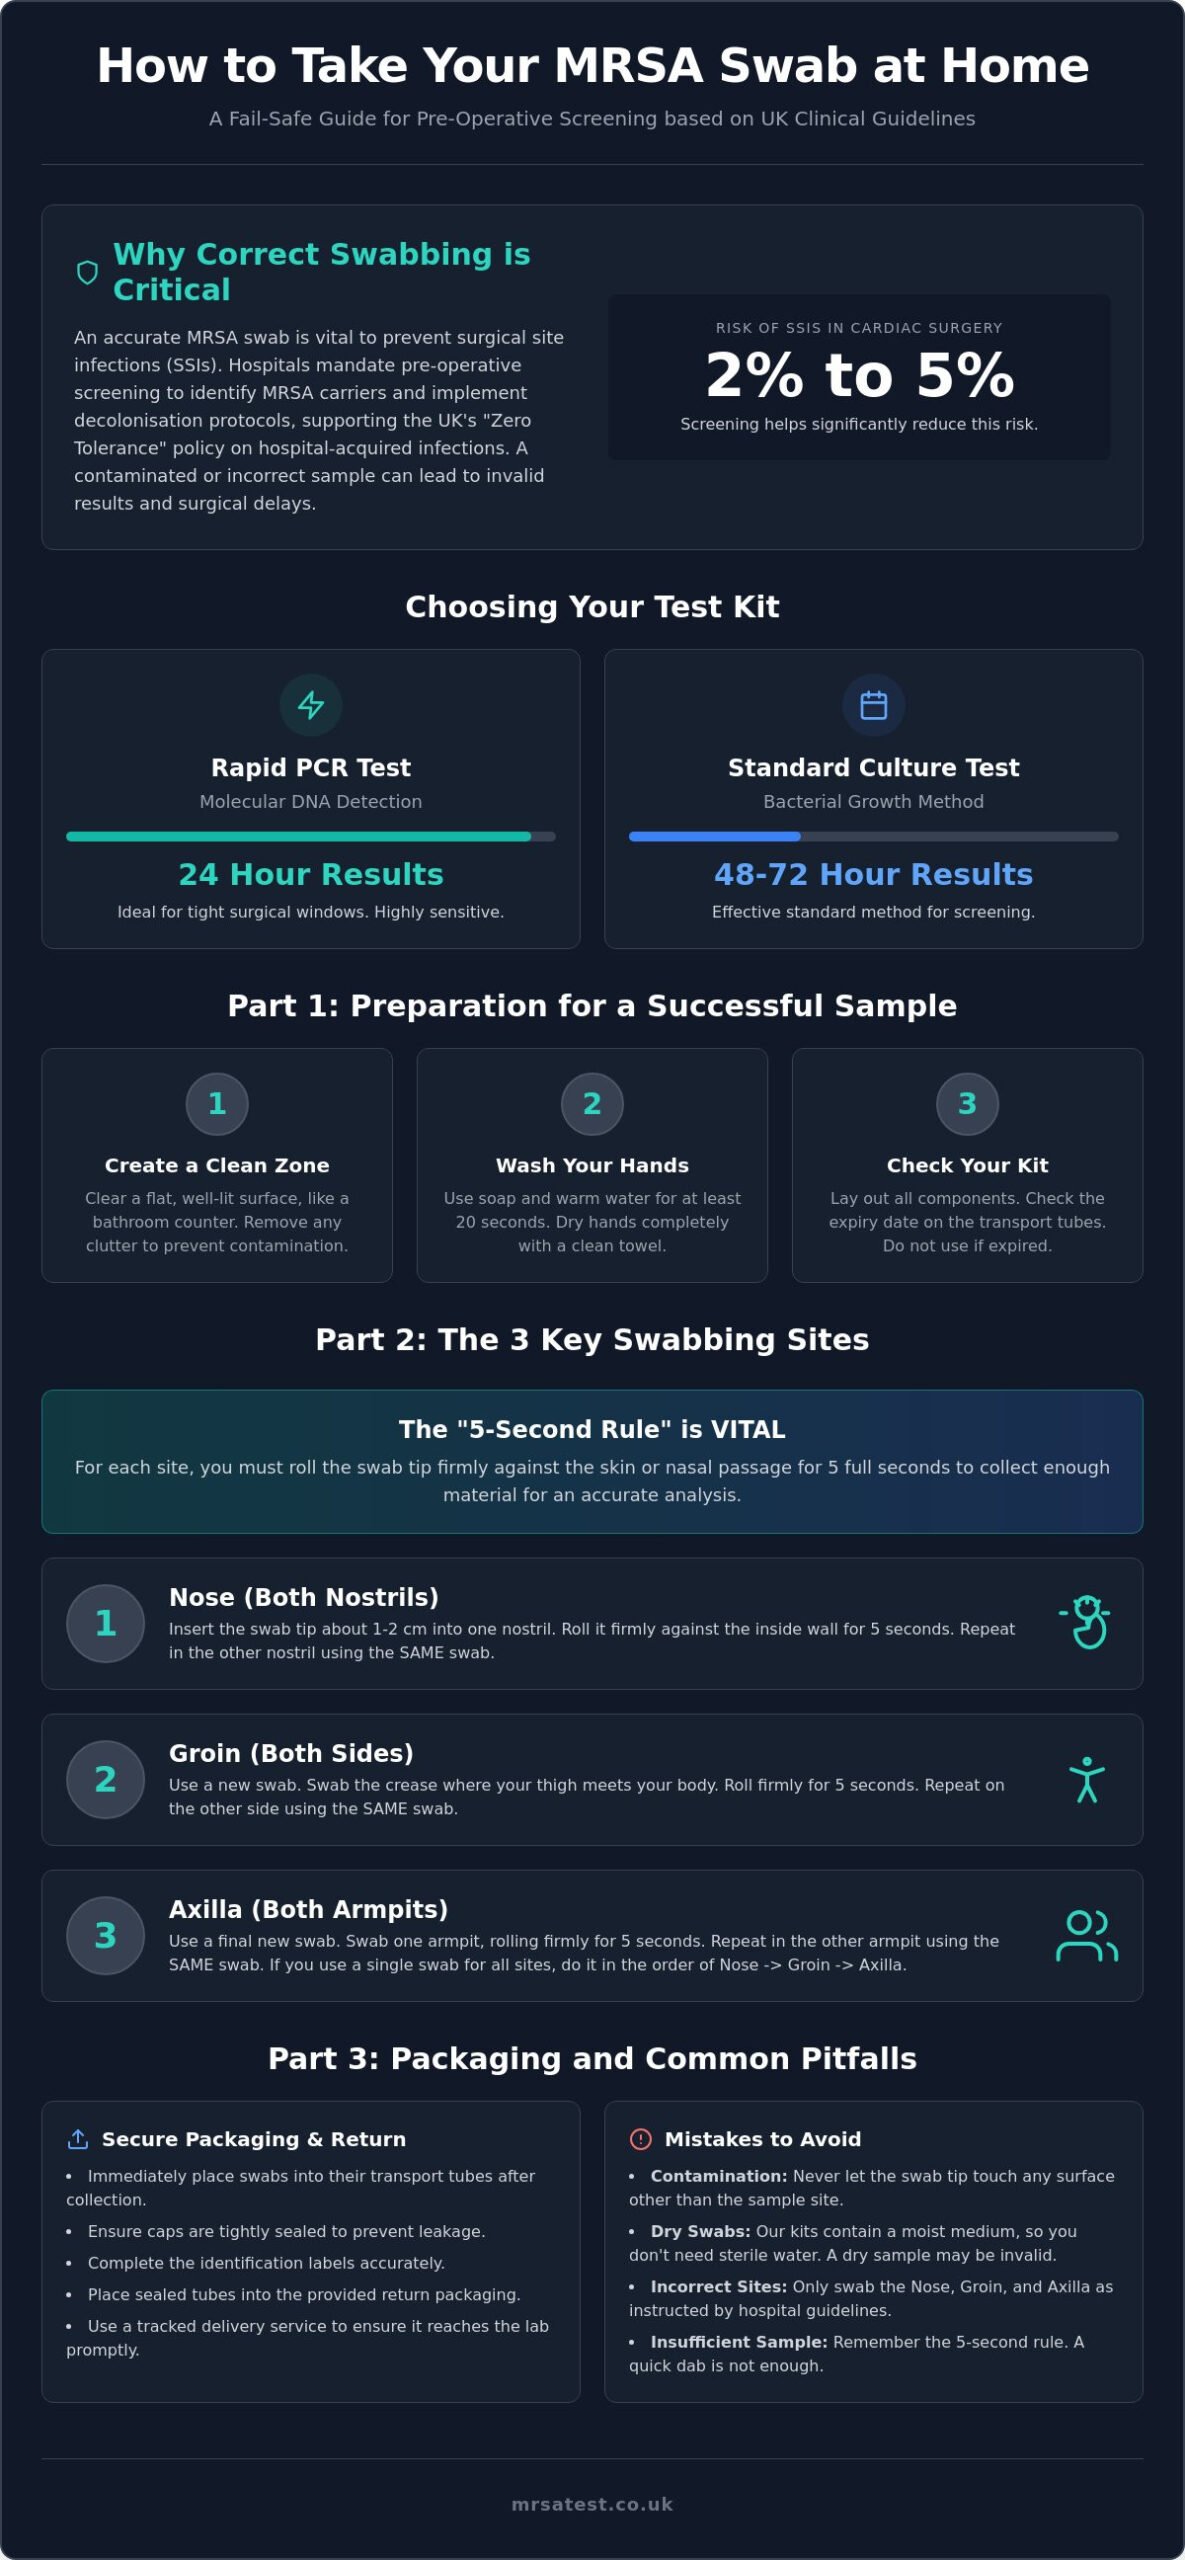
Achieving a valid result depends on your ability to collect enough biological material from the skin’s surface. When you’re ready to learn how to take mrsa swab at home, remember that the laboratory requires a sufficient concentration of skin cells and bacteria to provide a clear answer. Most testing protocols utilize two separate swabs: one dedicated exclusively to the nostrils and another for the various skin sites, including the groin and axilla. This prevents the transfer of nasal bacteria to skin samples and vice versa, maintaining the diagnostic integrity of each site.
To ensure your technique is fail-safe, follow the “Rotate, Transfer, Seal” summary for every area you sample:
- Rotate: Apply firm but gentle pressure while rotating the swab for at least 5 seconds.
- Transfer: Immediately move the swab to the next site or the transport tube to avoid contamination.
- Seal: Place the swab into the tube and ensure the cap clicks into place securely.
Site 1: The Nostrils (Nares)
The nose is a primary reservoir for MRSA. Start by gently inserting the cotton tip of the first swab approximately 2cm into your first nostril. You don’t need to go deep; just ensure the bud is fully inside the nasal cavity. Rotate the swab 5 times against the inside wall of the nose. Once finished, use the same swab to repeat the exact process in the second nostril. This concentrated sample provides the best chance for accurate detection.
Site 2: The Groin Crease
Using the second swab, focus on the groin crease, which is the area where the leg meets the torso, often called the “bikini line.” This warm, moist environment is a common site for bacterial colonisation. Rub the swab bud back and forth several times along the crease of the right groin. Apply enough pressure that the skin moves slightly, but not so much that it causes pain. Repeat this on the left side using the same swab stick. Knowing how to take mrsa swab at home correctly in these sensitive areas is essential for a reliable pre-operative screen.
Site 3: The Axilla (Armpit)
The axilla is frequently overlooked in standard clinical guides, yet it’s a vital site for many private surgical screenings. Lift your arm to fully expose the central area of the armpit. Rub the swab firmly across the skin where hair growth normally occurs, as this is where bacteria are most likely to reside. After swabbing one side, repeat the process for the other armpit. Once both axillae and both groin creases have been sampled with this single swab, it’s ready to be placed into its transport tube. This comprehensive approach ensures your sample meets the highest clinical standards required for hospital admission.
Troubleshooting: Common Mistakes to Avoid
Even when you understand the basic steps of how to take mrsa swab at home, small physical obstacles or oversights can impact the quality of your sample. One frequent concern is swabbing during a cold or an episode of hay fever. If you have a runny nose or significant nasal discharge, the swab may become oversaturated with mucus rather than collecting the skin cells from the nasal lining. Simply blow your nose gently before you begin the swabbing process to ensure the cotton bud makes direct contact with the internal wall of the nostril.
Dry skin is another frequent concern for patients, particularly in the groin or armpit areas. You might feel like the swab isn’t picking up enough material if the skin doesn’t feel moist. Rest assured that our transport tubes contain a specific moistening medium designed to preserve the sample. Ensure the swab reaches the very bottom of the tube so it’s fully submerged in this liquid. If you’re concerned about the quantity of the sample, remember that modern laboratory equipment only requires a microscopic amount of bacteria to provide a definitive result. Your focus should remain on the contact time and rotation technique described in the previous section.
Protecting your sample from contamination is vital for a valid test when learning how to take mrsa swab at home. If your swab touches a sink, a countertop, or even your clothing before it enters the tube, it’s no longer a pure representation of your skin’s flora. If this happens, it’s best to start over with a fresh swab to maintain the reliability of your results. To ensure you have everything you need for a successful test, you can order a replacement or additional MRSA screening kit directly from our site.
Labelling and Documentation Errors
Accurate results depend on clear documentation. Clinical laboratories operate under strict regulatory standards, meaning a sample that is not clearly labelled will be rejected for safety reasons. Perform a quick “Match-Check” before sealing your return envelope. The name and date of birth on the transport tube must exactly match the details on your request form. Use a ballpoint pen to write clearly, as felt-tip ink can smudge if it comes into contact with the transport medium. Always record the exact date and time of collection so the lab can track the sample’s age during processing.
Sample Degradation Risks
Posting your sample as soon as possible prevents the risk of degradation. The biological integrity of your sample begins to decline the moment it is collected. To get the most accurate results, you should post your kit on the same day the swabs are taken. If you can’t get to a post box immediately, store the sealed kit in a cool, dry place. Never place the sample in a freezer or leave it in a car, as extreme temperatures can kill the bacteria before they reach the lab. We recommend avoiding weekend post-box collections. A sample sitting in a metal box over a hot or freezing Sunday is at a much higher risk of failure than one processed during the standard working week.
Returning Your Kit and Receiving Your Results
Completing the physical collection is a significant step, but the final logistical details are what ensure your sample reaches the laboratory in a viable state. Once you’ve finished learning how to take mrsa swab at home and have performed the swabbing, you must secure the samples. Place each swab into its corresponding transport tube. It is essential to push the cap down firmly until you feel or hear a distinct “click.” This airtight seal prevents the transport medium from leaking and protects the sample from outside contaminants during transit.
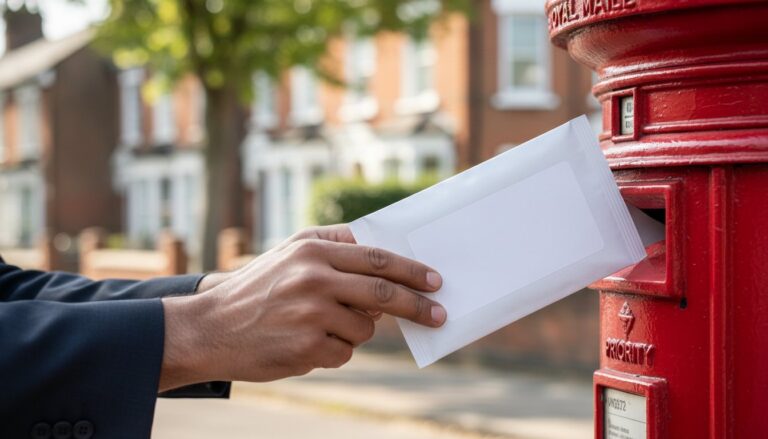
Your kit includes a prepaid, tracked envelope specifically designed for UK Royal Mail delivery. Place your labelled tubes and completed request form inside this envelope and seal it carefully. Using the tracked service is vital for your peace of mind; it allows you to confirm exactly when your sample arrives at our UKAS accredited laboratory. Because we operate entirely within the UK, transit times are minimized, which is a critical factor in maintaining the biological integrity of your sample. Posting your kit at a post office or a priority post box on the same day you collect the sample is the best way to ensure a rapid turnaround.
The interpretation of your results is straightforward. A “Negative” result indicates that MRSA was not detected at the sampled sites, providing the clearance most hospitals require for elective surgery. If your result is “Positive,” it means the bacteria were present. While this might feel concerning, it is not a medical emergency. It simply means you are a carrier, and your surgical team will likely prescribe a simple treatment to clear the bacteria before your procedure. Understanding how to take mrsa swab at home correctly ensures that whichever result you receive, it is an accurate reflection of your status.
Understanding the Lab Timeline
The time it takes to receive your certificate depends on the type of technology used to analyze your sample. If you chose a Rapid PCR test, the lab uses molecular detection to identify bacterial DNA, typically providing results within 24 hours of receipt. Standard Culture tests take longer, usually 48 to 72 hours, because the lab must wait for any bacteria present to grow in a controlled environment. Once the analysis is complete, you’ll receive a professional results certificate via email in a PDF format. This document is designed for easy submission to your hospital or surgical coordinator.
What Happens if You Test Positive?
Testing positive for MRSA colonisation is a common occurrence and is easily managed through a standard decolonisation protocol. This usually involves using antimicrobial body washes, such as Chlorhexidine (CHG), and specific nasal ointments for five days. These treatments are highly effective at reducing the risk of infection during surgery. For a deeper look at managing these bacteria, you can read What Is MRSA? Your Complete Guide. Taking control of your health screening now prevents avoidable delays to your surgical care. Order your confidential MRSA test kit today to ensure you are fully prepared for your upcoming procedure.
Secure Your Surgical Clearance with Confidence
Taking control of your pre-operative health screening doesn’t have to be a complicated or stressful experience. By mastering how to take mrsa swab at home, you ensure that your clinical samples are collected with the precision required for hospital acceptance. Remember that successful screening relies on correct site selection, firm contact time, and the prevention of cross-contamination. These simple steps protect your surgical timeline and provide the peace of mind you need before your procedure.
Our service is designed to support you through every stage of this process. We provide UKAS Accredited Lab Testing and 24-Hour Rapid PCR Options to ensure you receive your results exactly when you need them. With our Confidential & Discreet UK Delivery, you can complete your screening in the privacy of your own home without the need for hospital queues. Order Your Private MRSA Home Test Kit Now and take a proactive step toward a safe and successful surgery.
You are now fully equipped with the knowledge to perform your test accurately. We are here to ensure your transition to the operating theatre is as smooth and safe as possible.
Frequently Asked Questions
Is taking an MRSA swab painful?
No, taking an MRSA swab is not painful. The procedure involves gently rubbing a sterile cotton-tipped swab against the surface of your skin or the inside of your nostrils. While you may feel a slight tickling sensation or mild pressure, it shouldn’t cause any physical discomfort. It’s a non-invasive diagnostic process designed to be as comfortable as possible for self-collection in a private setting.
Can I take the MRSA swab while on antibiotics?
You can take the swab while on antibiotics, but it’s important to inform your surgical team or note it on your request form. Antibiotics can sometimes suppress the levels of bacteria on your skin, which might lead to a false negative result. If you’re currently finishing a course of medication, your hospital may advise waiting a few days after your final dose to ensure the most accurate screening.
What happens if I touch the swab tip by accident?
If you accidentally touch the swab tip, it’s considered contaminated and shouldn’t be used. Touching the bud transfers oils and bacteria from your fingers to the sterile surface, which will interfere with the laboratory analysis. Most kits include a spare swab for this reason. If you don’t have a spare, you’ll need to order a new sterile component to maintain the integrity of your results.
Do I need to swab my throat for an MRSA test?
A throat swab isn’t typically required for standard pre-operative MRSA screening in the UK. The default clinical recommendation focuses on the nostrils and the groin or perineum, as these are the primary sites where MRSA colonises the body. Some private surgical protocols may also include the axilla (armpit). Always check your specific hospital instructions, but most patients only need to focus on the sites provided in our standard kits.
How long are MRSA swab results valid for surgery in the UK?
In the UK, an MRSA screen is typically valid for at least three months, though this can be extended to six months depending on local NHS trust policies and your specific risk factors. If you’re admitted to a hospital between your test and your surgery date, you’ll likely need a repeat screening. Understanding how to take mrsa swab at home correctly ensures your results are ready well within this validity window.
What if I forget to label my MRSA tubes?
If you forget to label your tubes, the laboratory will be forced to reject the sample for safety and regulatory reasons. Clinical labs can’t process unidentified biological material as it poses a risk of patient misidentification. Always double-check that your full name, date of birth, and the collection date are clearly written on each tube before you seal your return envelope to avoid the need for a retest.
Can I use a standard cotton bud if I lose the kit swab?
You must never use a standard household cotton bud if you lose the kit swab. Household buds aren’t sterile and lack the specific transport medium required to keep bacteria alive during transit to the lab. Using a non-clinical substitute will lead to an invalid result. If a component is missing or lost, contact us to receive a replacement sterile swabbing kit that meets UKAS accredited standards.
How soon after swabbing should I post the kit?
You should post your kit on the same day you collect your samples to ensure the highest diagnostic accuracy. The biological integrity of the bacteria begins to decline over time, even with the protective transport medium. Posting immediately via the provided tracked Royal Mail envelope ensures the lab receives the sample within its optimal window. This is a key part of learning how to take mrsa swab at home for reliable results.