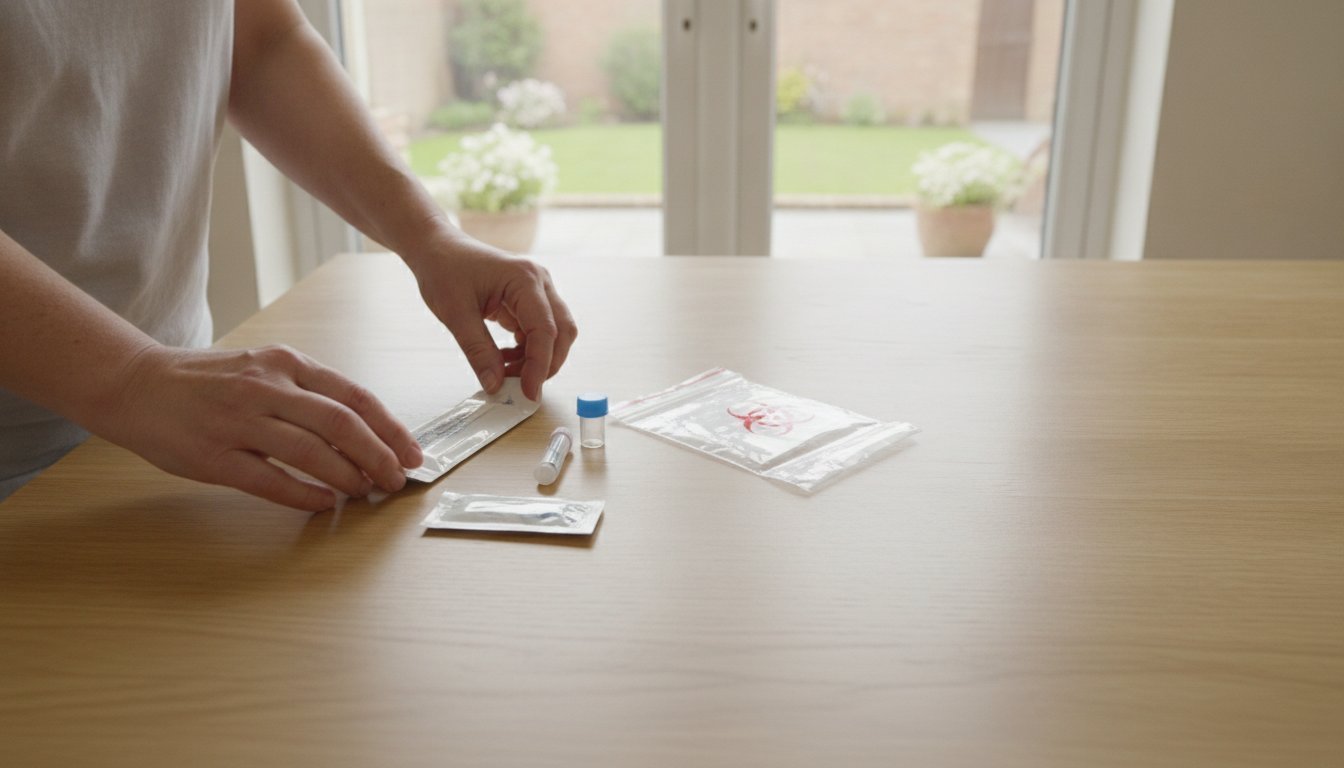
How to Take an MRSA Swab at Home: A Professional Step-by-Step Guide
Imagine your surgery date is only days away, but the final hurdle isn’t the procedure itself; it’s ensuring your pre-operative screening is perfect. You might worry that an incorrect technique could lead to an invalid result or, worse, a last-minute cancellation. Understanding how to take an mrsa swab at home is essential for maintaining your surgical schedule and protecting your health. Current data for 2026 suggests that approximately 2% of the global population carries MRSA, often without showing any symptoms, which makes these screenings a vital safety measure before you enter a clinical environment.
It’s natural to feel concerned about contaminating the sample or missing a specific site like the nostrils or groin. We’re here to help you master this clinical protocol with quiet competence and professional accuracy. This guide will provide you with a clear, laboratory-grade technique to ensure your results are valid for hospital admission and meet strict pre-op deadlines. We will walk through the exact rotation methods for different body parts and explain how to handle your kit with the discretion and care your health deserves.
Key Takeaways
- Learn the professional ‘Rotation Rule’ to ensure you collect a maximum surface area for accurate laboratory analysis.
- Identify why the nose, groin, and axilla are the most critical swabbing sites for detecting MRSA colonisation.
- Follow our clinical protocol on how to take an mrsa swab at home to ensure your sample is valid for hospital admission.
- Discover the essential steps for labelling and sealing your sample tubes to prevent delays or invalidation at the lab.
- Understand the clinical difference between being ‘colonised’ with MRSA and having an active infection.
Preparation and Protocol: Why Correct MRSA Swabbing Matters
An MRSA swab is a specialized diagnostic tool used to identify the presence of Methicillin-resistant Staphylococcus aureus (MRSA) colonisation on your skin or in your nostrils. While these bacteria often live harmlessly on the body, they can cause serious complications if they enter a surgical wound. This is why hospitals across the UK require screening before most elective procedures. By identifying colonisation early, medical teams can provide decolonisation treatments to prevent healthcare-associated infections. Learning how to take an mrsa swab at home allows you to complete this essential step with precision and privacy.
You may feel a sense of pressure to get this right. It’s helpful to know that self-collection is a standard, validated practice in the UK for 2026. When you follow the clinical protocol, the results are just as reliable as those taken in a hospital. The primary goal of the process is to collect a sufficient volume of skin cells and local flora. This provides the laboratory with the material they need to identify any bacteria present. Your careful technique ensures that the sample remains viable from the moment it leaves your home until it reaches the lab bench.
Understanding the MRSA Screening Kit Components
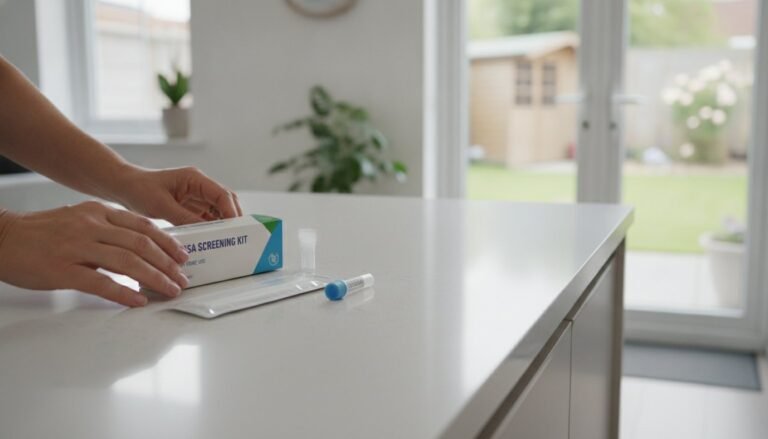
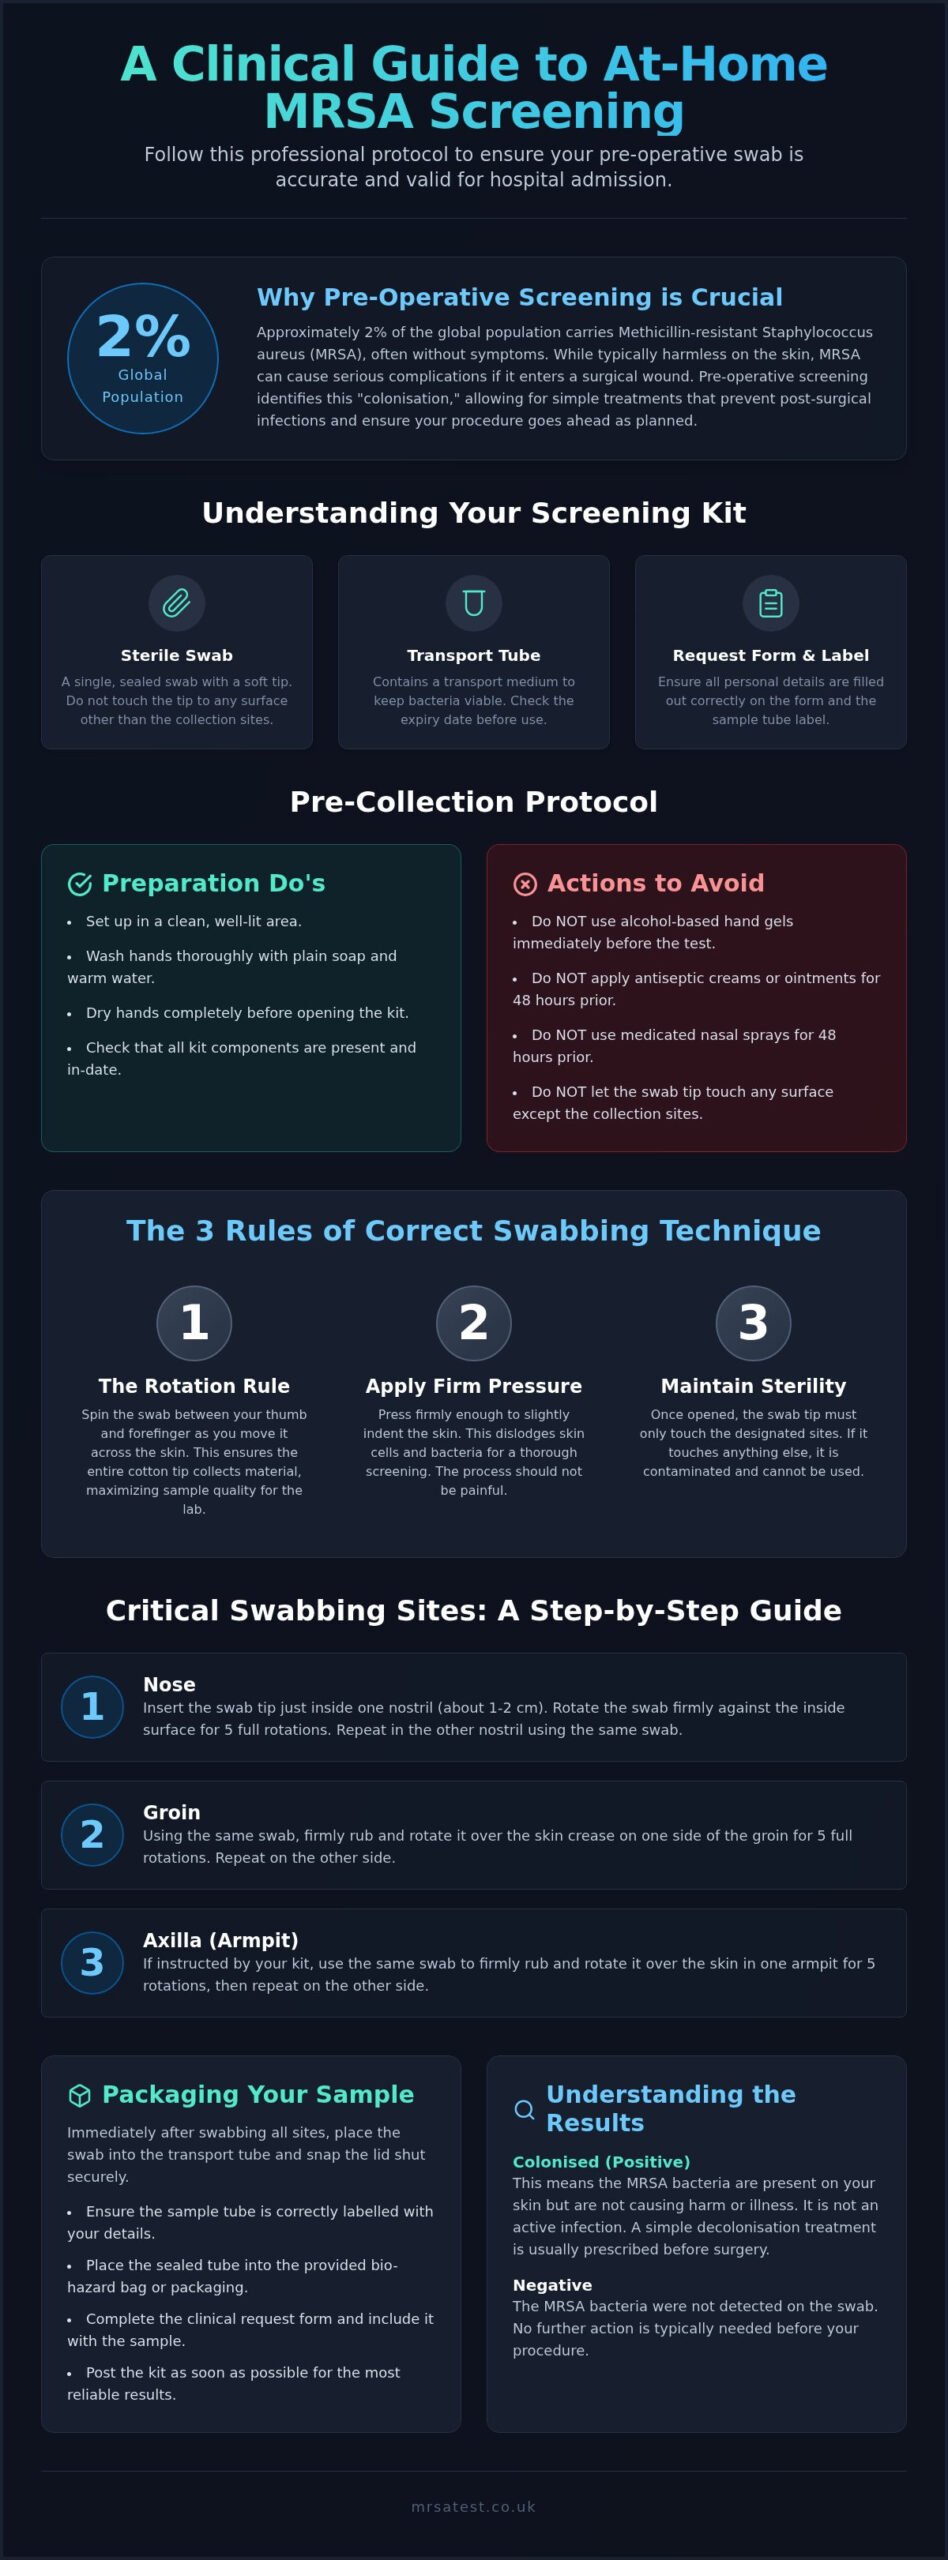
Before you begin, it’s vital to familiarise yourself with the contents of your kit. Each professional-grade kit typically includes a sterile swab, a tube containing transport medium, and a clinical request form. The transport medium is a specific substance that keeps bacteria alive for laboratory analysis without allowing them to multiply. Always check the expiry date printed on the packaging; if the medium is past its date, it may not effectively preserve the sample during transit. Ensuring all components are present and in-date is the first step in maintaining the integrity of your screening.
Pre-Collection Preparation and Hygiene
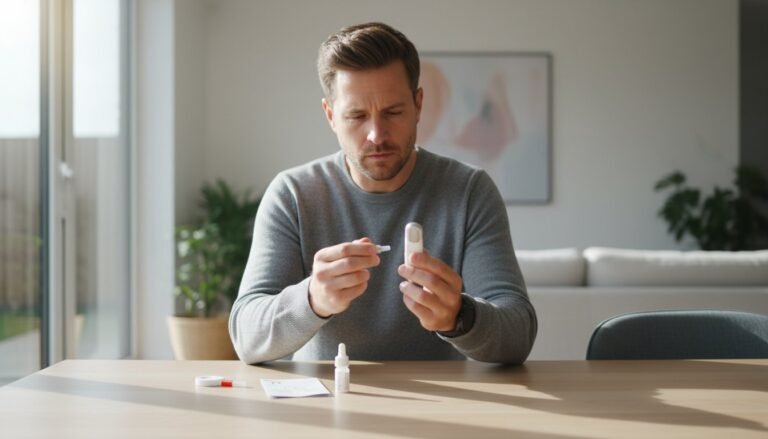
Success starts with your environment and personal hygiene. First, set up a clean, well-lit workspace to lay out your at home test kits uk. Wash your hands thoroughly with warm water and plain soap. You must avoid using alcohol-based hand gels immediately before you learn how to take an mrsa swab at home, as residual alcohol on your fingers could potentially interfere with the bacterial sample.
Equally important is what you don’t do in the days leading up to the test. You should avoid applying any antiseptic creams, medicated ointments, or nasal sprays for at least 48 hours before collection. These substances can kill or suppress the bacteria on the skin surface, leading to a “false negative” result that might be overturned once you are in a hospital setting. Following these protocols ensures that your self-collected sample meets the same clinical standards as one taken by a healthcare professional.
Step-by-Step: How to Take an MRSA Swab at Home Correctly
Achieving a valid sample depends heavily on your technique. When learning how to take an mrsa swab at home, the most critical factor is the ‘Rotation Rule.’ This involves spinning the swab handle between your thumb and forefinger as you move it across the skin. By rotating the swab, you ensure the entire cotton tip makes contact with the area, which maximizes the surface area available for bacterial collection. A simple swipe is rarely enough; the rotation is what captures the necessary biological material for the lab.
Applying the correct amount of pressure is equally important. You should press firmly enough to slightly indent the skin or move the tissue; this helps dislodge skin cells and bacteria. However, the process shouldn’t be painful. This firm contact is a key part of Preventing MRSA transmission in clinical settings, as it ensures the screening is thorough enough to detect even low levels of colonisation. If you’re too light, you risk an inconclusive result.
Sterility is your highest priority during this process. Once the swab is removed from its packaging, the tip must never touch anything except the designated swabbing sites. If it brushes against your clothes, furniture, or even your own fingers, the sample is contaminated and must be discarded. To avoid this, keep the transport tube nearby so you can insert the swab immediately after collection. This maintains the “clean chain” from your skin to the laboratory bench.
Timing also plays a role in sample integrity. We recommend performing the collection just before you intend to post the kit. While the transport medium is designed to keep bacteria viable, the freshest samples provide the clearest laboratory results. If you are working within a tight pre-surgery window, choosing an MRSA Rapid PCR Test can offer the speed you need for peace of mind. Rapid results ensure you meet hospital deadlines without the stress of potential delays.
The General Swabbing Technique
Follow these clinical steps for every site you swab to ensure consistency and accuracy:
- Carefully peel back the sterile packaging and grip the swab by the plastic handle only.
- If your kit includes a moistening agent, dip the tip lightly; it should be damp but not dripping.
- Apply the swab to the skin and rotate it at least five times, ensuring you cover the entire area described in your instructions.
Common Mistakes to Avoid During Self-Collection
Even with a clear protocol, small errors can invalidate your results. Avoid these common pitfalls to ensure your sample is accepted:
- Environmental Contamination: Don’t set the swab down on any surface once it is out of the packet.
- Over-saturation: If you use a moistening agent, don’t soak the swab so much that it drips into the transport tube.
- Delayed Sealing: Don’t leave the swab exposed to the air for longer than necessary; place it in the tube and click the cap shut immediately.
Essential Swabbing Sites: Nose, Groin, and Axilla Protocols
MRSA bacteria have a clear preference for specific anatomical locations. They tend to colonise warm, moist environments where the skin is protected and the microclimate is stable. This biological preference makes the nostrils, groin, and axilla (armpits) the most critical areas to sample during a screening. When you are learning how to take an mrsa swab at home, identifying these sites correctly is the foundation of a valid and clinically useful test result.
Depending on the specific kit you’ve selected, you may find yourself working with either a “single swab” or a “multi-swab” setup. In a single swab protocol, one swab is used across all designated sites in a specific sequence to pool the sample. Conversely, a multi-swab kit provides separate tools for each area to allow for site-specific analysis. Both methods are clinically effective as long as you maintain the rotation and pressure techniques required to dislodge the bacteria from the skin surface.
For the majority of UK hospital admissions, the nose and groin are considered the non-negotiable primary sites for screening. However, many preparing for surgery protocols now include the axilla to provide a more comprehensive bacterial profile. Missing even one of these sites can lead to an incomplete screening, which might cause unnecessary delays to your surgical schedule. Ensuring you have sampled every required area is a simple way to protect your health and your timeline.
How to Swab the Nostrils (Nares)
The nostrils are the most frequent site for MRSA carriage in the human body. To begin, insert the cotton tip of the swab approximately 1 to 2cm into the first nostril. You don’t need to go deep; the goal is to reach the mucosal surface just inside the nasal opening. Rotate the swab firmly against the inside wall five times. It’s essential to repeat this exact process in the second nostril using the same swab tip. NHS guidance on how to take your own MRSA swabs emphasises that both sides must be sampled to ensure no colonisation is missed.
How to Swab the Groin and Axilla
The groin and axilla require a slightly more vigorous back-and-forth motion compared to the nostrils. For the groin, rub the swab firmly in the skin fold where your leg meets your torso. This area is a common reservoir for bacteria due to the natural warmth of the region. When swabbing the axilla, swipe the swab across the central hollow of the armpit where the skin is thinnest. To maintain a professional standard when learning how to take an mrsa swab at home, you must ensure you cover both the left and right sides of the body. Use the same swab for both groin folds and both armpits unless your kit instructions specifically state otherwise. This thoroughness ensures the laboratory receives a representative sample of your body’s natural flora.
Packaging and Returning Your MRSA Samples to the Laboratory
The final stage of learning how to take an mrsa swab at home involves the secure and compliant return of your sample. Once you’ve completed the swabbing process, you must immediately place the swab into the transport tube. Press the cap down firmly until you hear or feel a distinct “click.” This sound is your confirmation that the tube is hermetically sealed. A proper seal prevents the transport medium from leaking, which is essential for keeping the bacteria viable for laboratory analysis. If the medium escapes, the sample may dry out, leading to an invalid result that could delay your hospital admission.
Shipping biological materials requires adherence to strict UK postal regulations. Your kit includes specialized packaging designed to meet UN3373 safety standards for Category B biological substances. This multi-layered system protects the sample from environmental changes and ensures the safety of postal workers. By using the provided materials, you maintain the clinical integrity of your screening from your front door to the laboratory bench.
Labelling and Documentation Requirements
Accuracy in documentation is just as vital as your swabbing technique. Use a ballpoint pen to clearly print your full name, date of birth, and the exact date and time of collection on the tube label. You must then cross-reference these details with the information on your laboratory request form. Laboratories are legally required to reject “anonymous” or unlabelled samples to maintain patient safety and ensure data traceability. A missing signature or an unlabelled tube is the most common reason for sample rejection, so take a moment to verify every detail before sealing the outer envelope.
Safe Packaging and Posting via Royal Mail
Follow these steps to ensure your sample remains secure during transit:
- Wrap the sealed tube in the absorbent pad provided to provide cushioning and leak protection.
- Place the wrapped tube into the primary leak-proof pouch and press the seal firmly.
- Insert the pouch and your completed request form into the outer “Tracked 24” box or envelope.
To ensure your sample reaches the lab while it is at its freshest, we recommend using the prepaid 24-hour tracked service included in your kit. Try to post your sample as soon as possible after collection. We suggest finding your nearest Priority Post Box, as these are specifically designated for medical samples and are collected more frequently. This efficiency is crucial for meeting tight pre-operative deadlines. If you are on a strict timeline, you can order an MRSA Rapid PCR Test to ensure your results are processed within 24 hours of laboratory receipt.
Interpreting Your MRSA Test Results and Next Steps
Receiving your laboratory report is the final stage of the screening process. A ‘Negative’ result, often referred to as ‘Clear,’ means the laboratory found no evidence of MRSA on the swabs you provided. This result typically allows your surgery to proceed as planned. Knowing how to take an mrsa swab at home correctly ensures that these results are a true reflection of your colonisation status. If your result is ‘Positive,’ it means you are currently ‘colonised’ with the bacteria.
It’s vital to understand that colonisation is not the same as an active infection. You aren’t ‘ill’ in the traditional sense. Instead, the bacteria are simply living on your skin or in your nostrils without causing harm. However, they pose a risk if they enter a surgical site. For a comprehensive look at how these bacteria function, you can consult our What Is MRSA? guide. This distinction helps alleviate the anxiety often associated with a positive screening.
PCR vs. Culture: How Your Swab is Processed
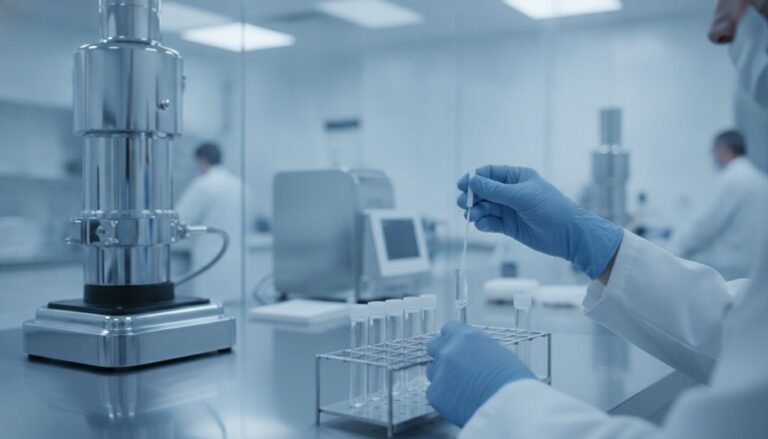
The laboratory uses two primary methods to analyse your sample: PCR and Culture. PCR (Polymerase Chain Reaction) is a molecular technique that looks for the specific DNA of the bacteria. It’s incredibly fast, often providing results within 24 hours of the lab receiving your kit. This speed makes it the preferred choice for urgent pre-op windows. Culture methods are considered the ‘gold standard’ but take longer. They involve placing the sample in a petri dish to see if the bacteria grow over several days. You can decide which method meets your needs by visiting our MRSA test comparison page.
What to Do If Your Result Is Positive
If your result returns as positive, your first step is to stay calm. Colonisation is common and easily managed with a standard clinical protocol. A positive result is actually a safety net. It identifies a risk before it can become a complication during your recovery. You should contact your surgical team or GP to share the report. They’ll likely start you on a ‘decolonisation’ therapy. This usually involves a five-day course of a special antiseptic body wash and a nasal antibiotic cream. Once this simple treatment is complete, the risk to your surgical outcome is significantly reduced.
Securing Your Surgical Timeline with Professional Accuracy
Mastering the clinical technique for self-collection is the most effective way to ensure your hospital admission proceeds without delay. By focusing on the ‘Rotation Rule’ and sampling the non-negotiable sites like the nostrils and groin, you provide the laboratory with a high-quality specimen. Understanding how to take an mrsa swab at home empowers you to manage your pre-operative requirements from the privacy of your own environment. Your attention to detail in sealing the transport tube and completing the request form ensures your sample meets strict clinical standards.
If you’re working within a tight surgical window, we provide the tools you need for peace of mind. Order your private MRSA test kit with Tracked 24 delivery to benefit from discreet packaging and UKAS accredited laboratory analysis. Our PCR results are typically available within 24 hours of lab arrival; this speed allows you to meet your deadlines with confidence. You’ve taken the right steps to protect your health and your surgical outcome. We’re here to support you through every stage of the process.
Frequently Asked Questions
How long does it take to get MRSA swab results back from the lab?
PCR results are available within 24 hours of your sample reaching our accredited laboratory. If you choose the culture method, the process takes longer because the lab must wait for the bacteria to grow, which typically requires 48 to 72 hours. This speed is vital for patients working within a narrow pre-operative window.
Do I need to swab my throat for a pre-surgery MRSA screen?
Standard pre-surgery protocols in the UK focus on the nose, groin, and axilla. You don’t usually need to swab your throat unless your specific surgical team or hospital has requested it as part of an enhanced screening. Always follow the instructions provided in your kit, as these are designed to meet current clinical guidelines.
What should I do if I am currently taking antibiotics?
Antibiotics can suppress the bacteria on your skin, which might lead to a false negative result. It’s best to finish your course and wait a few days before you learn how to take an mrsa swab at home to ensure the most accurate reading. You should always inform your surgical team about any recent or current antibiotic use.
Can I take the MRSA swab while I have my period?
Yes, you can proceed with the test during your period without any issues. The groin swab is taken from the skin fold where the leg meets the torso, meaning menstruation doesn’t interfere with the sample or the laboratory’s analysis. It’s a skin-based test, so internal biological cycles won’t impact the detection of colonisation.
Is the home MRSA test kit the same as the one used in hospitals?
What happens if the swab touches a surface other than my skin?
If the swab tip touches any surface such as furniture, clothing, or even your fingers, it’s considered contaminated. You must discard the kit and use a new sterile one to ensure the integrity of your sample. A contaminated swab can introduce foreign bacteria, which may lead to an invalid result and delay your surgery.
How many days before my surgery should I take the MRSA test?
Most hospitals require a screening result from a test taken within 14 days of your surgical date. When planning how to take an mrsa swab at home, we recommend ordering your kit at least two weeks before your procedure. Using a rapid PCR test is the most efficient way to meet these deadlines if you are on a tight schedule.
Do I need to fast or change my diet before taking an MRSA swab?
No, you don’t need to fast or alter your diet before performing the swab. MRSA colonisation is a surface-level issue involving the skin and nostrils, so it isn’t affected by food or drink intake. You can perform the collection at any time of day that is convenient for you and fits with the postal collection times.