Where to Swab for MRSA: A Step-by-Step Guide for 2026
What if a single missed spot on a cotton swab was the only thing standing between you and your scheduled surgery? For many patients preparing for a procedure in 2026, the requirement for a pre-operative screen brings a wave of “swab anxiety.” You’re likely worried that an incorrect sample might lead to an invalid result, or even a last-minute cancellation by the hospital. It’s a common concern, especially when clinical instructions feel vague or overwhelming.
We understand that you want to get this right the first time. This guide explains exactly where to swab for mrsa test collection to ensure your samples meet strict laboratory standards. By following these clear, non-judgmental steps, you can feel confident that your screening is valid and ready for fast processing. We’ll cover the primary colonisation sites, including the nostrils, groin, and axilla, while providing the specific techniques used to capture accurate data for both PCR and culture methods. With the right approach, you can complete your screening from the privacy of home and stay on track for your upcoming procedure.
Key Takeaways
- Identify the primary carriage sites—the nose, groin, and axilla—where MRSA is most likely to colonise before surgery.
- Master the exact technique for where to swab for mrsa test collection to ensure your sample is lab-ready and clinically valid.
- Learn how to maintain a sterile environment and avoid common contamination errors that can lead to surgical delays.
- Follow a simple, step-by-step sequence to package your samples correctly for rapid PCR or culture analysis.
- Gain peace of mind by completing your pre-operative screening from home while meeting strict hospital deadlines.
Understanding the Primary MRSA Screening Sites
Before you begin your screening, it’s vital to understand the difference between being “colonised” with bacteria and having an active infection. Most people who test positive for Methicillin-resistant Staphylococcus aureus (MRSA) are carriers. This means the bacteria live harmlessly on their skin or inside their nose without causing symptoms. This state is known as carriage. While it doesn’t harm you in daily life, these bacteria can enter the body through a surgical incision, which leads to serious post-operative complications. Knowing exactly where to swab for mrsa test collection allows clinicians to identify these reservoirs and provide decolonisation treatment before your procedure.
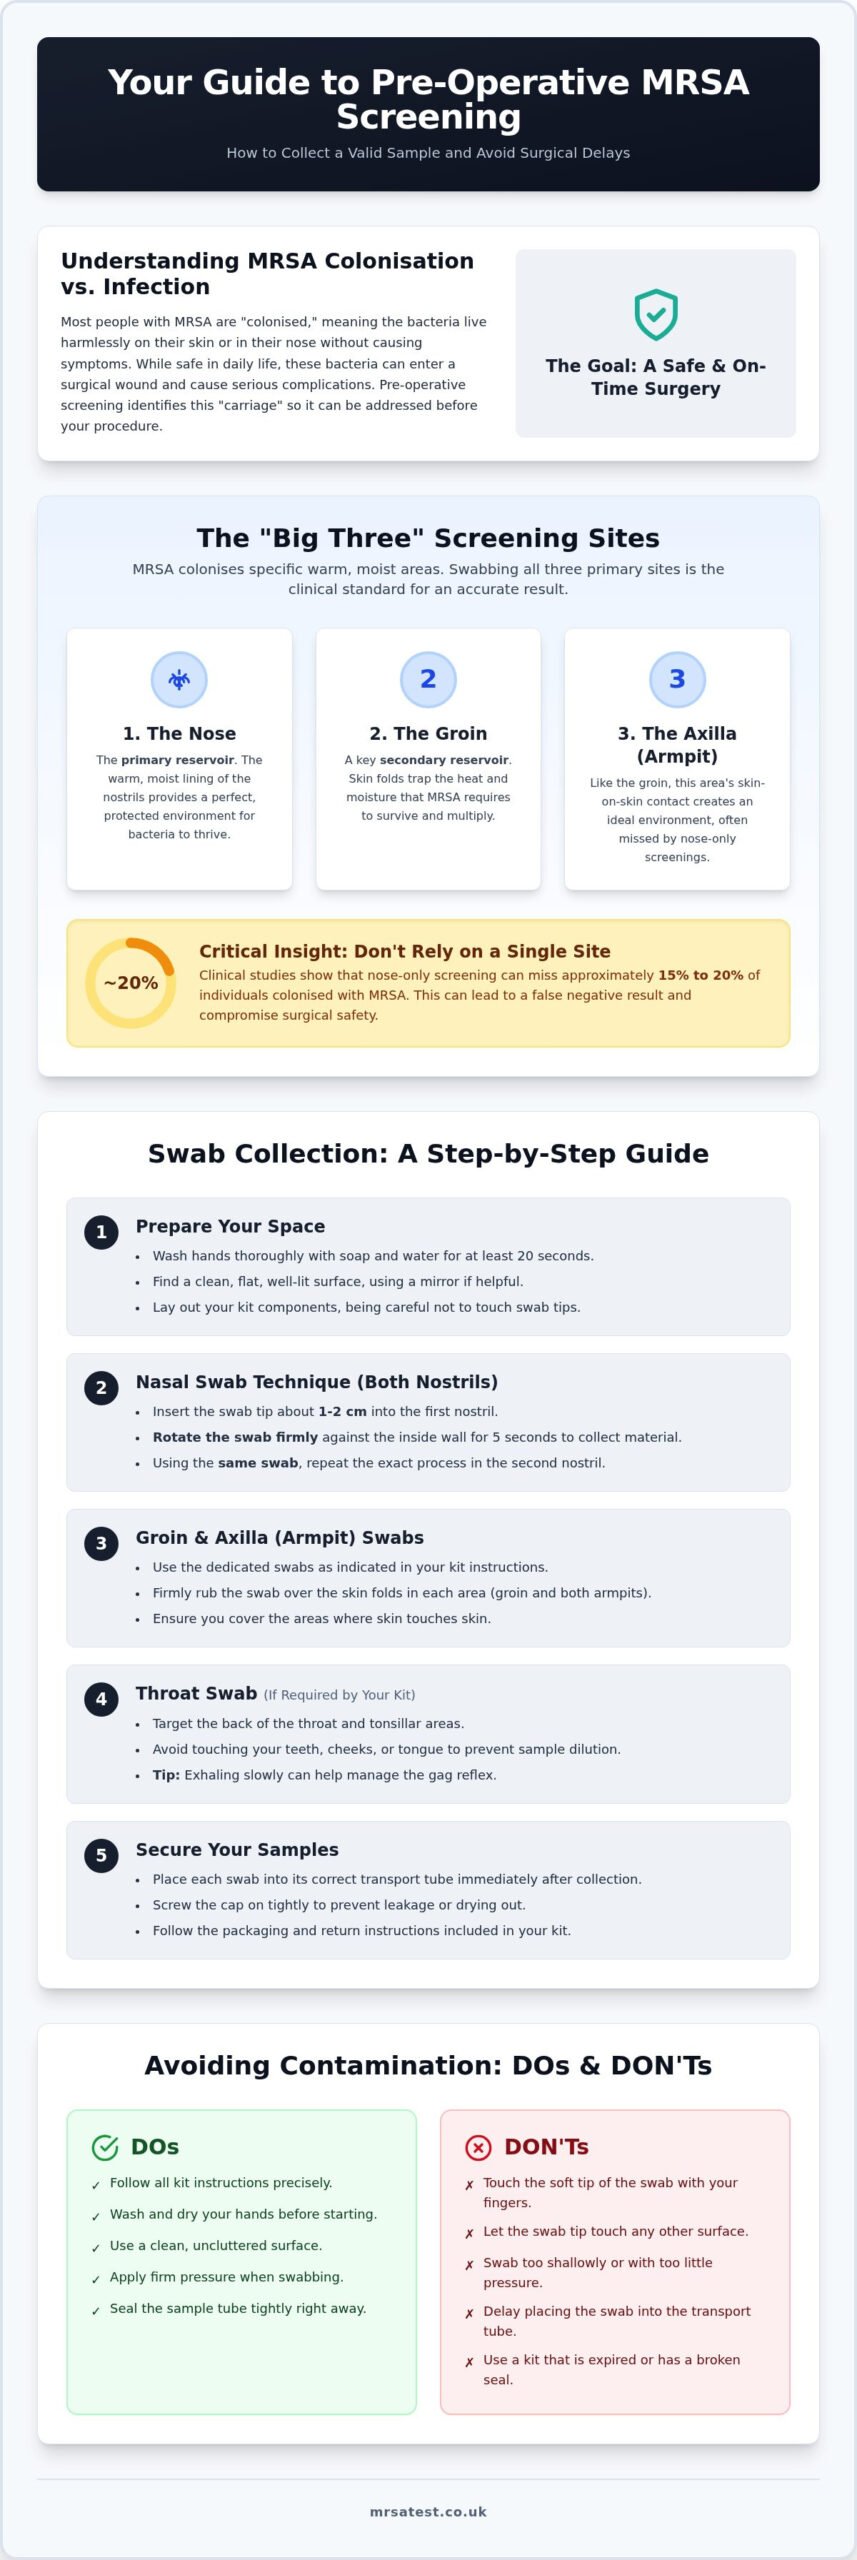
Bacteria like MRSA don’t settle randomly across the body. They prefer environments that are warm, dark, and moist. These specific conditions allow the bacteria to multiply and persist on the skin surface for long periods. This preference is why hospitals focus on the “Big Three” sites: the nose, the groin, and the axilla, more commonly known as the armpit. Screening multiple sites simultaneously is a clinical standard because the bacteria don’t always colonise every area at once. Relying on a single site could lead to a false negative result.
Why the Nose is the Most Common Site
The anterior nares, which are the front parts of your nostrils, are the primary reservoir for Staphylococcus aureus. The mucosal lining inside the nose provides a perfect, protected environment where bacteria thrive. Clinical research suggests that nasal carriage is the strongest predictor of a future surgical site infection. If the bacteria are present in the nostrils, they can easily be transferred to other parts of the body through touch. Because the nose is such a high-traffic area for bacterial growth, it’s the first place clinicians look when determining where to swab for mrsa test samples.
The Importance of the Groin and Axilla
While the nose is the most frequent site for colonisation, it isn’t the only one. Areas where skin touches skin, such as the folds of the groin and the armpits, trap the heat and moisture MRSA requires to survive. These sites act as secondary reservoirs that are often overlooked. If a screening only focuses on the nose, it can miss a significant portion of carriers. Some clinical studies indicate that nose-only screening may miss approximately 15% to 20% of colonised individuals.
Bacteria can easily migrate from these skin folds to a surgical wound during or after a procedure. By swabbing the groin and axilla in addition to the nose, you ensure a more comprehensive and accurate result. This multi-site approach is why your at-home kit includes specific instructions for each area. Capturing samples from all three locations provides the lab with the best chance of detecting carriage, ensuring your surgery can proceed safely and without delay.
Step-by-Step: How to Swab the Nose and Throat
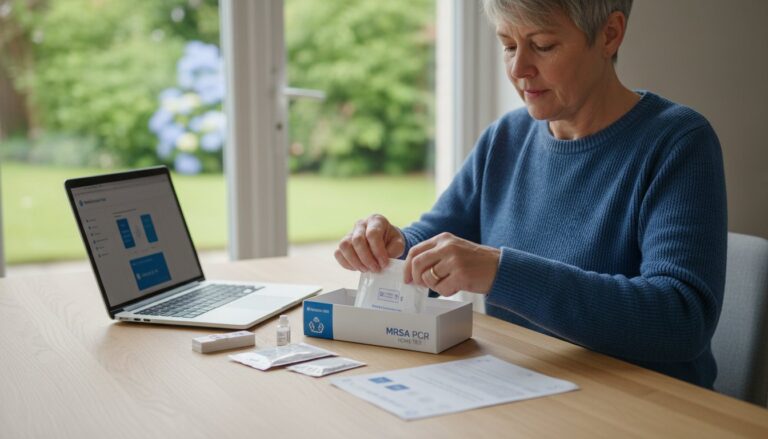
Preparing your environment is the first step toward a valid result. Before you open your kit, wash your hands thoroughly with soap and water for at least 20 seconds. Find a well-lit area with a mirror, as this helps you see exactly where to swab for mrsa test collection without guesswork. Set out your transport tubes and swabs on a clean surface. Taking a few minutes to organise your workspace reduces the risk of accidental contamination and ensures you’re ready for the process.
Nasal Swabbing Technique
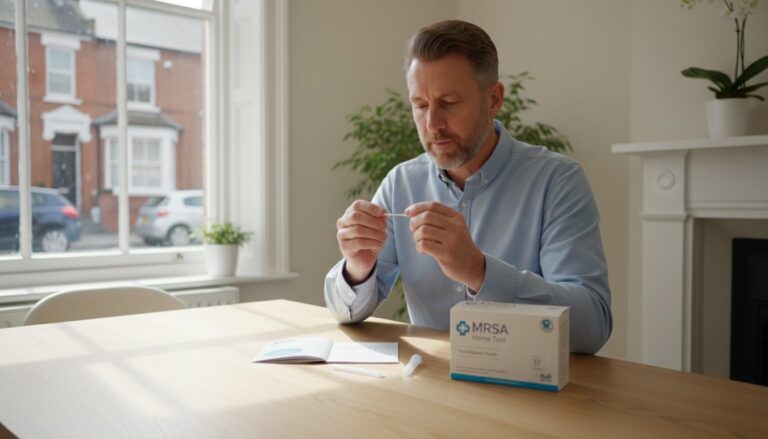
The nostrils are the most critical area for detection. Gently remove the swab from its packaging, being careful not to touch the tip. Insert the soft end roughly 1-2cm into the first nostril. You don’t need to go deep; the bacteria live on the inner lining of the anterior nares. Rotate the swab firmly against the inside wall for 5 seconds. This pressure is necessary to collect enough material for MRSA Tests to be accurate. Using the same swab, repeat this exact process in the second nostril. This dual-nostril approach ensures a comprehensive sample from the primary reservoir.
Throat Swabbing (If Required)
Some pre-operative protocols include a throat swab to increase detection rates. If your kit includes a dedicated throat swab, open your mouth wide and depress your tongue. You’re targeting the back of the throat and the tonsillar area. To manage a strong gag reflex, try exhaling slowly through your mouth or humming quietly while swabbing. Quickly rub the swab over both tonsils, avoiding contact with your teeth, cheeks, or tongue. This prevents the sample from being diluted by excess saliva or non-target bacteria. Check your hospital’s specific requirements, as not all procedures mandate a throat screen.
Once you’ve collected the samples, place the swab into the transport tube immediately. Secure the cap tightly to prevent leakage or drying of the medium. If you’re unsure which kit matches your hospital’s specific requirements, you can find various pre-surgery MRSA screening options tailored to standard clinical protocols. Promptly securing the sample is the final step in ensuring the lab receives a high-quality specimen for analysis.
Swabbing the Groin and Axilla (Armpit)
While the nose is a primary reservoir, skin-to-skin contact areas are equally vital for a complete screening. MRSA often colonises the warm, moist folds of the body, making the groin and axilla essential targets. When you’re determining exactly where to swab for mrsa test accuracy, remember that you aren’t just looking for surface moisture. You’re collecting skin cells and bacterial colonies. This requires firm but gentle pressure. You don’t need to scrub hard enough to cause irritation, but the swab must make definitive contact with the skin surface to be effective. A light touch may fail to pick up enough material for the laboratory to process.
Targeting the Groin Crease
The groin is a high-risk area because of the heat generated where the leg meets the torso. To collect this sample, identify the “crease” or fold where your thigh joins your body. You should rub the swab back and forth several times across this skin fold. It’s important to ensure the swab makes contact with the moistest part of the crease, as this is where bacteria are most likely to thrive. You can use a single swab for both the right and left sides. Simply perform the procedure on one side, then move to the other using the same swab tip. This method of using one swab for paired sites is common in clinical practice, similar to the dual-nostril approach found in the MRSA nasal swab collection protocol used by many hospitals.
Collecting from the Axilla
The axilla, or armpit, is the third major site for screening. You should target the deepest part of the armpit, often called the hollow. Lift your arm and rub the swab firmly across the entire surface of this hollow area. If you have an active rash, broken skin, or a recent wound in your armpit, avoid swabbing that specific spot unless your clinical instructions state otherwise. Sampling damaged skin can be uncomfortable and may lead to a sample containing more blood than bacteria, which can occasionally interfere with the culture process. Many patients worry that daily hygiene products might ruin the test. However, deodorant or antiperspirant does not usually interfere with PCR results, as these tests look for specific bacterial DNA rather than chemical markers. Knowing where to swab for mrsa test samples in these skin folds ensures that carriage isn’t missed simply because it wasn’t present in the nose.
Avoiding Contamination: Tips for a Valid Sample
The most important part of the collection process is the “Golden Rule”: never touch the soft tip of the swab with your fingers or any other surface. Your skin is naturally covered in various bacteria that can interfere with the diagnostic process. If your fingertips touch the swab, you risk introducing non-target organisms that might mask the presence of MRSA or lead to an inconclusive result. When you remove the swab from its protective sleeve, ensure your fingers remain strictly on the plastic handle at all times.
Maintaining Sterility at Home
Before opening your kit, clear a dedicated workspace on a clean, hard surface like a kitchen table or a cleared bathroom counter. Keeping the swab in its sterile packaging until the exact moment of use prevents airborne particles or dust from settling on the tip. Cross-contamination in home testing refers to the accidental transfer of bacteria from non-target surfaces, such as unwashed hands or bathroom counters, onto the diagnostic swab. By maintaining a clean zone, you ensure that the only biological material sent to the lab is what you intended to collect.
Handling the transport tube requires equal care. When you unscrew the cap, do not touch the inside of the lid or the rim of the tube. If you drop the swab on the floor or touch it against a towel, the integrity of the sample is lost. Even if you know exactly where to swab for mrsa test collection, a contaminated tool will produce an unreliable result. In these cases, it’s safer to stop and order a replacement kit rather than submitting a compromised sample that could lead to a cancelled surgery.
Common Mistakes That Lead to ‘Invalid’ Results
Even with a sterile swab, certain technical errors can result in an “invalid” report from the lab. To avoid these pitfalls, pay close attention to the following factors:
- Insufficient rotation: You must rotate the swab firmly for at least 5 seconds at each site. This friction is what gathers the skin cells and bacteria needed for analysis.
- Dry swabbing: If your kit includes a transport medium (a small amount of liquid or gel in the tube), ensure the swab tip is fully submerged once replaced. This medium keeps the bacteria alive during transit.
- Labeling errors: Labs cannot process anonymous samples. Ensure the date and time of collection are clearly written on the tube. This information is critical because culture results take 48-72 hours and require the lab to track the sample’s age.
Precision during collection is the best way to ensure your results are ready in time for your hospital deadline. If you want to ensure your screening meets all clinical standards, you can order a professional MRSA screening kit that includes everything you need for a valid home sample.
From Swab to Result: Using Your At-Home MRSA Kit
After you’ve identified exactly where to swab for mrsa test sites and finished the collection process, the final phase is ensuring your samples reach the laboratory safely. Perform a final check of each transport tube. Ensure the caps are tightened securely to prevent any leakage of the transport medium. Each tube must be clearly labeled with your name and the date of collection. If a lab receives an unlabeled or leaking sample, they won’t be able to process it, which could lead to a delay in your surgical schedule.
Place the sealed tubes into the provided biohazard bags. These bags are a legal requirement for transporting biological specimens and provide an extra layer of security. Once the bags are sealed, place them into the prepaid mailer included in your kit. Our service is designed to be efficient and discreet, allowing you to manage your pre-operative requirements without the need for additional hospital appointments.
Returning Your Samples to the Lab
Timing is vital for accurate diagnostics. You should post your kit as soon as possible after collection, ideally on the same day. Using a priority postbox ensures rapid delivery to our accredited UK laboratory. Rapid transit is especially important for Culture tests, as the lab needs to start the incubation process while the sample is fresh. If you’re managing multiple medical requirements, you can use our Preparing for Surgery Checklist to stay organised with your other health logistics.
Interpreting Your MRSA Results
Your results will be delivered through a secure digital platform. The report uses standard clinical terminology to ensure clarity for your medical team. ‘Not Detected’ means that MRSA wasn’t found in the samples provided. Conversely, ‘Detected’ indicates that MRSA carriage was identified. If your result is ‘Detected’, don’t worry. It doesn’t mean you have an active infection, but it does mean you’ll likely need a decolonisation treatment before your surgery. For a deeper understanding of carriage and treatment protocols, you can read our guide on What Is MRSA? to prepare for your conversation with your surgeon.
PCR results are typically available within 24 hours of the lab receiving your sample, while Culture results take 48-72 hours. Once you receive your report, you can easily share the PDF with your NHS or private surgeon. Providing these results early ensures that your medical team has the necessary clearance to proceed with your operation as planned.
Secure Your Pre-Surgery Clearance Today
Knowing exactly where to swab for mrsa test collection allows you to take control of your surgical timeline from the comfort of your home. By focusing on the primary carriage sites, including the nostrils, groin, and axilla, and maintaining strict sterile technique, you ensure your results are clinically valid and ready for your surgeon’s review. This proactive approach eliminates the stress of hospital appointments and helps prevent last-minute cancellations due to missing or invalid results.
Our service provides the professional accuracy you need with the convenience you deserve. Every kit is processed by an Accredited UK Laboratory, ensuring your data meets the highest medical standards. We prioritize your privacy with discrete, plain packaging and deliver PCR results within 24 hours of lab receipt. Don’t let screening logistics delay your recovery or cause unnecessary anxiety before your procedure.
Order Your Pre-Surgery MRSA Test Kit Now to complete your clearance with confidence and peace of mind. You’ve taken the right steps to ensure a safe and successful procedure.
Frequently Asked Questions
Do I need a separate swab for every body part?
You don’t need a separate swab for each individual side, but you must use different swabs for different body regions. For example, you use one swab for both nostrils and a second swab for both sides of the groin. This paired approach is standard clinical practice for pre-surgery screening. Always check your specific kit instructions, as protocols may vary depending on whether you chose the PCR or Culture testing method.
Can I eat or drink before doing a throat swab for MRSA?
It’s best to avoid eating, drinking, or using mouthwash for at least 30 minutes before collecting a throat sample. Consuming food or liquids can temporarily reduce the number of bacteria present on the tonsils or introduce contaminants that interfere with the lab analysis. Ensuring your mouth is clear of debris helps the laboratory provide the most accurate result for your screening, keeping your surgery on track without unnecessary delays.
What happens if I accidentally touch the swab tip?
If you touch the swab tip, you must discard it and use a replacement to ensure a valid result. Your skin contains various non-target bacteria that can contaminate the sample and mask the presence of MRSA. Because accuracy is critical for hospital clearance, submitting a compromised swab could lead to an “invalid” report. If you don’t have a spare swab, it’s safer to order a new kit before proceeding with your collection.
How deep does the swab need to go into my nose?
The swab only needs to go roughly 1-2cm into each nostril, targeting the area known as the anterior nares. You don’t need to push the swab deep into the nasal cavity or reach the back of the throat through the nose. When deciding where to swab for mrsa test accuracy, focus on the inner lining of the nostril opening. Firmly rotating the swab against this wall for five seconds gathers sufficient biological material.
Is the swabbing process painful or uncomfortable?
The swabbing process is generally painless, though you may experience a slight tickling sensation or mild pressure. Because you’re only swabbing the surface of the skin and the shallow part of the nostrils, there’s no need for invasive depth. If you have a sensitive gag reflex during a throat swab, try humming or exhaling slowly to stay relaxed. The entire procedure is designed to be quick and manageable in a private setting.
How long are the swabs valid once I have taken the sample?
You should return your samples to the lab as soon as possible, ideally on the same day you collect them. While the transport medium in the tubes helps preserve the bacteria, the integrity of the sample is highest when it reaches the lab quickly. Using the provided prepaid priority mailer ensures your kit reaches our UK laboratory promptly, allowing for rapid PCR results within 24 hours of the lab receiving your kit.
Can I take the test if I am currently on antibiotics?
Taking antibiotics can affect the accuracy of your results by temporarily suppressing bacterial growth. If you’re currently on a course of medication, it’s vital to inform your surgeon or wait until you’ve finished the treatment before testing. Antibiotics may lead to a “not detected” result even if carriage is present. Always follow your hospital’s specific guidance regarding the timing of your pre-operative screen to ensure the results are clinically acceptable.
Does it matter if I swab my left or right side first?
No, the order in which you swab the left or right side of your nose, groin, or axilla doesn’t affect the final result. The goal is to capture a representative sample from the entire carriage site. When determining where to swab for mrsa test sites, the most important factor is ensuring you apply consistent, firm pressure to both sides using the same swab. This ensures you gather enough material for the laboratory to analyze correctly.